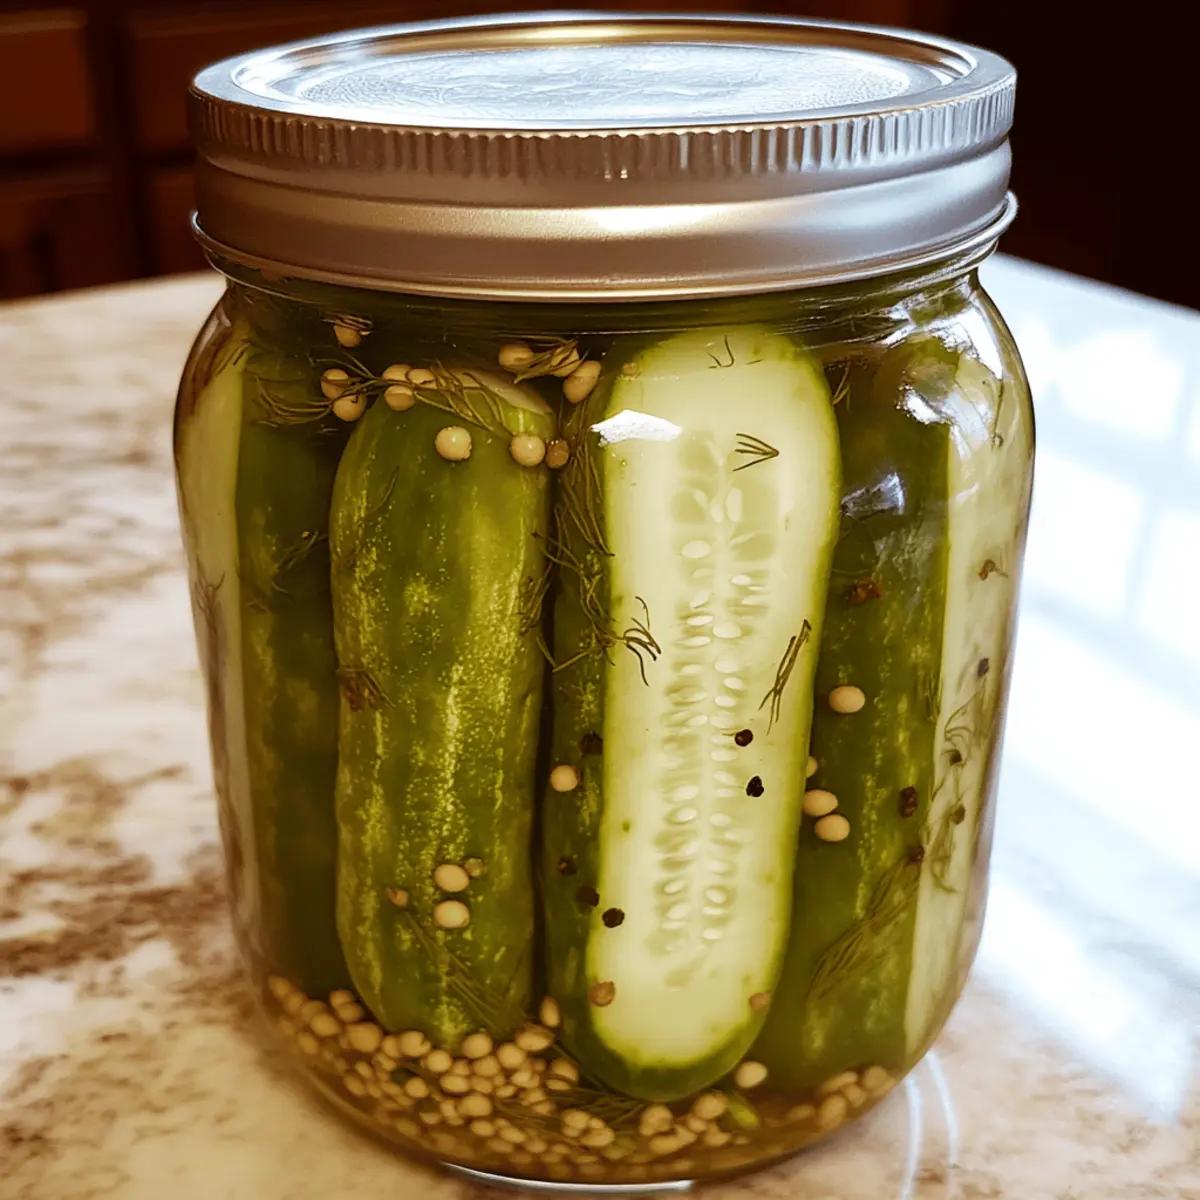
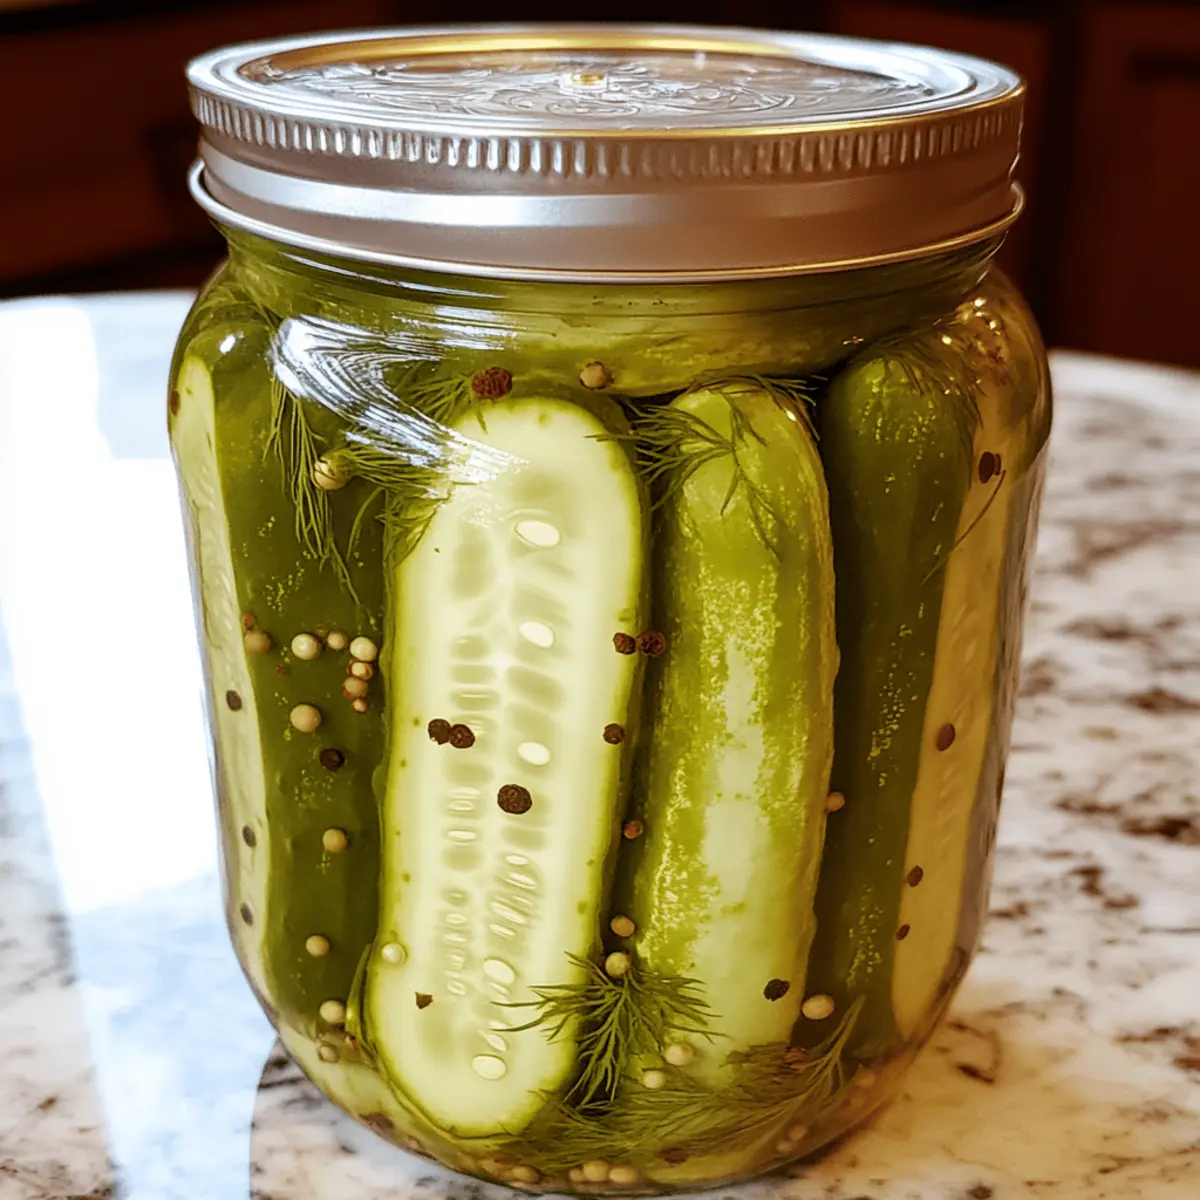
There’s something satisfying about crafting your own delicious condiments, and this Dill Pickle Recipe is the perfect place to start! Not only do homemade pickles brighten up any meal, but they also bring a delightful crunch that store-bought versions just can’t replicate. With just a handful of fresh ingredients, including crisp pickling cucumbers and aromatic garlic, you’ll create a tangy brine that infuses your pickles with flavor.

I stumbled upon this recipe during a weekend that was just begging for a little culinary adventure. As I rummaged through my pantry, I found myself inspired by the simplicity of pickling. It’s almost magical how a short 30 minutes of prep can lead to a jar full of zingy, homemade goodness ready to elevate sandwiches, burgers, or even just snacks on their own.
So if you’re tired of the same old meals or need a refreshing side dish, let’s get started and turn those cucumbers into a vibrant jar of dill pickles that will keep you coming back for more!
Why Will You Love This Dill Pickle Recipe?
Homemade goodness: Crafting your own pickles brings an unparalleled freshness that store-bought varieties simply can’t match.
Elevate your meals: These zesty dill pickles are the perfect addition to sandwiches, burgers, or enjoyed straight from the jar as a snack.
Simple process: With just a few basic ingredients and 20 minutes of prep time, you can create them easily at home.
Versatile flavors: Customize your pickling brine with optional spices like red pepper flakes for a kick, making each jar unique.
Quick satisfaction: You’ll get to enjoy crunchy pickles within just 24 hours, making it a speedy way to spice up your meals!
Dill Pickle Ingredients
• To make your own Dill Pickle Recipe, gather these fresh ingredients:
- 2 lbs pickling cucumbers – Choose firm, unblemished cucumbers for the best crunch.
- 2 cups water – Use filtered water if possible for a cleaner taste.
- 2 cups white vinegar – Opt for a good quality vinegar for a balanced flavor.
- 2 tbsp pickling salt – Essential for preserving and enhancing flavor; do not substitute with regular salt.
- 2 cloves garlic, peeled – Fresh garlic adds a delightful pungency.
- 2 tsp dill seeds – These give that quintessential dill flavor; feel free to adjust to taste.
- 1 tsp black peppercorns – Whole peppercorns deliver warmth and spice without overpowering.
- 1/2 tsp mustard seeds – Adds a subtle tang; a little goes a long way!
- 1/2 tsp red pepper flakes (optional) – Spice up your pickles if you like a little heat!
Gather all these ingredients and get ready to dive into the world of homemade pickling!
How to Make Dill Pickles
Wash the pickling cucumbers thoroughly under cold water. This removes any dirt and ensures your pickles have a fresh taste. Pat them dry with a clean towel to avoid excess moisture.
Slice the cucumbers into spears or rounds. Choose the shape you prefer, ensuring uniformity for even brining. This step adds a personal touch to your pickles!
Pack the cucumber pieces into a clean quart-sized glass jar. Make sure to leave about 1/2 inch of space at the top for the brine and proper sealing. A packed jar makes for crunchier pickles!
Combine water, white vinegar, and pickling salt in a medium saucepan. Bring to a rolling boil, stirring occasionally until the salt fully dissolves. This brine is the heart of your pickles!
Add garlic cloves, dill seeds, black peppercorns, mustard seeds, and red pepper flakes to the brine. Reduce the heat to low and simmer for 5 minutes. You’ll enjoy the enticing aroma that fills your kitchen!
Pour the hot brine carefully over the cucumbers in the jar. Ensure all spices are included and that the cucumbers are completely submerged. Leave a 1/2 inch of headspace to allow for expansion.
Cool the jar at room temperature on the counter for about 2 hours. This step is crucial for proper pickling and flavor melding, so resist diving in too early!
Seal the jar with a tight-fitting lid once it has cooled completely. Place it in the refrigerator for at least 24 hours before eating. The wait will be worth it!
Enjoy your freshly made pickles after 24 hours. They’re perfect for brightening up meals or snacking on right from the jar!
Optional: Serve with a sprinkle of fresh dill on top for added flavor.
Exact quantities are listed in the recipe card below.
Dill Pickle Variations
Feel free to get creative and customize your pickles for a unique twist that excites your taste buds!
Spicy Kick: Add an extra teaspoon of red pepper flakes to the brine for a fiery punch. These pickles will bring the heat in every bite!
Sweet & Tangy: Incorporate 1/4 cup of sugar into the brine for a balanced sweet-and-sour flavor. The sweetness will beautifully complement the dill and tang.
Herbal Infusion: Toss in fresh herbs like thyme or oregano along with the dill seeds for a fragrant blend. This switch elevates the flavor profile and adds a garden-fresh aroma.
Garlic Lovers: Increase the garlic to 4 cloves for an intensified savory depth. Bursting with garlicky goodness, these pickles will tantalize any garlic enthusiast!
Vinegar Variety: Experiment with different types of vinegar, such as apple cider or red wine vinegar, to alter the flavor base. Each vinegar brings its unique character to the jar.
Crunchy Add-ins: Include sliced carrots or daikon radish along with the cucumbers for a delightful crunch. These additions enhance not only texture but also color!
Smoky Flavor: Use smoked sea salt in place of pickling salt for a hint of smokiness that’s unexpected yet delicious. This dark, rich addition will keep you reaching for more!
Mediterranean Twist: Incorporate kalamata olives or feta cheese into the jar for a Mediterranean flair that surprises. Pairing pickles with feta is a delightful combination that’s sure to impress!
What to Serve with Dill Pickle Recipe?
Creating mouthwatering pickles can transform any meal into a flavorful feast, bringing bright and tangy notes to your table.
Classic BBQ Pulled Pork Sandwiches: The zesty crunch of your dill pickles adds a refreshing contrast to the rich, smoky flavors of tender pulled pork.
Potato Salad: Creamy potato salad paired with crunchy dill pickles creates a harmonious blend of textures. They give your salad that unexpected zing that keeps everyone coming back for more!
Burgers: Whether it’s a beef, turkey, or veggie burger, a dill pickle slice builds a heavenly crunch and enhances savory flavors. It’s simply the quintessential accompaniment!
Charcuterie Board: Incorporate homemade dill pickles into your charcuterie spread for a lively burst of flavor alongside cheeses and cured meats. Their tartness will balance out the richness of the platter.
Tuna Salad: Diced dill pickles folded into creamy tuna salad create a pleasant crunch and a touch of acidity that elevates the dish. Serve it on toasted bread for a satisfying lunch.
Grilled Cheese Sandwich: The combination of gooey cheese and tangy pickle creates a surprisingly delightful layer of flavor that enhances this classic comfort food.
Spicy Chicken Wings: The cool crunch of dill pickles will provide balance to the heat of spicy wings, making for a well-rounded plate. You can also enjoy them with a side of pickle juice for an extra kick!
Make Ahead Options
These delightful dill pickles are perfect for meal prep enthusiasts! You can slice the pickling cucumbers and pack them into jars up to 24 hours in advance for optimal efficiency. Simply prepare the brine (water, white vinegar, and pickling salt) and store it separately in the refrigerator until you’re ready to complete your Dill Pickle Recipe. This keeps the cucumbers crisp and fresh. When it’s time to finish, just heat the brine, pour it over the cucumbers, and allow them to cool before refrigerating. With this method, you can savor your homemade pickles just when you’re ready to enjoy them, saving you time on busy weeknights!
How to Store and Freeze Dill Pickles
Fridge: Store the jar in the refrigerator for up to 3 months. The cold temperature helps maintain the pickles’ crispness and flavor.
Room Temperature: Avoid keeping the pickles at room temperature. They should always be refrigerated after opening to ensure freshness.
Freezer: While pickles don’t freeze well due to texture changes, you can freeze the brine. Transfer it to an airtight container without cucumbers, and store for up to 6 months.
Reheating: If you want to enjoy pickles warm, heat them gently in a saucepan—just ensure they don’t simmer to maintain their crunch from the delicious dill pickle recipe!
Expert Tips for the Best Dill Pickle Recipe
Choose Fresh Cucumbers: Look for pickling cucumbers that are firm and unblemished. Freshness is key for crunchier pickles!
Brine Temperature Matters: Make sure the brine is hot when pouring it over the cucumbers. This ensures proper sealing and enhances the pickling process.
Leave Headspace: Always leave about 1/2 inch of headspace at the top of the jar. This prevents spills and allows your pickles to expand during the pickling process.
Cool Slowly: Let the jar cool at room temperature for at least 2 hours before refrigerating. It helps the flavors meld beautifully.
Patience is Key: Wait at least 24 hours before tasting. This time allows the cucumbers to absorb the brine flavors, creating the perfect dill pickle recipe!
Dill Pickle Recipe Recipe FAQs
What type of cucumbers should I use for pickling?
Absolutely! It’s best to choose firm, unblemished pickling cucumbers, as they have a crunchier texture that holds up well during the pickling process. Look for cucumbers that are around 4-6 inches long for the most satisfying crunch.
How long do homemade pickles last?
Once prepared, your dill pickles can be stored in the refrigerator for up to 3 months. Just make sure they’re sealed tightly, and you’ll be able to enjoy that homemade freshness for a good while. If you notice any dark spots or off smells, it’s best to discard them for safety.
Can I freeze my dill pickles?
I often get this question! While freezing pickles isn’t ideal because it can change their texture, you can freeze the brine. Pour your cooled brine into an airtight container and store it in the freezer for up to 6 months. When you’re ready to pickle again, just thaw the brine and use fresh cucumbers.
What should I do if my pickles are soft or mushy?
If your pickles turn out soft, it could be due to overripe cucumbers or not using pickling salt. Always choose fresh cucumbers and avoid regular table salt as it can lead to undesirable textures. If you’ve made a batch that has turned mushy, try storing them with a few fresh dill sprigs or a couple of cherry leaves (if available) to help retain a bit of crunch!
Are there any dietary considerations with homemade pickles?
Very! This Dill Pickle Recipe is naturally gluten-free and suitable for most diets. However, if you or anyone enjoying them has a garlic allergy, you can simply omit the garlic cloves, and your pickles will still be delicious. Always remember to check your ingredients to ensure they fit within your dietary needs.
Mouthwatering Dill Pickle Recipe You Can’t Resist Making
Ingredients
Equipment
Method
- Wash the pickling cucumbers thoroughly under cold water. Pat them dry with a clean towel.
- Slice the cucumbers into spears or rounds.
- Pack the cucumber pieces into a clean quart-sized glass jar, leaving about 1/2 inch of space at the top.
- Combine water, white vinegar, and pickling salt in a medium saucepan. Bring to a rolling boil.
- Add garlic cloves, dill seeds, black peppercorns, mustard seeds, and red pepper flakes to the brine. Simmer for 5 minutes.
- Pour the hot brine over the cucumbers in the jar, ensuring they are completely submerged.
- Cool the jar at room temperature for about 2 hours.
- Seal the jar with a tight-fitting lid and refrigerate for at least 24 hours.
- Enjoy your freshly made pickles after 24 hours.