Introduction
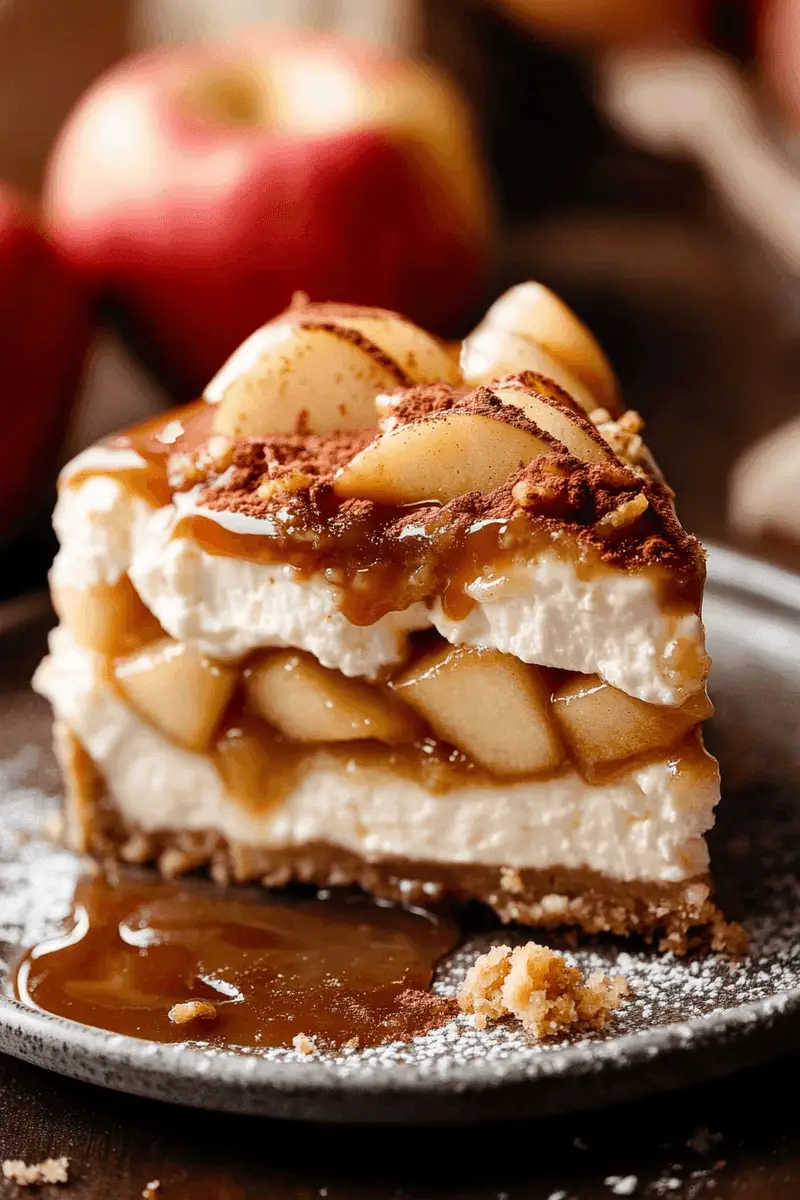
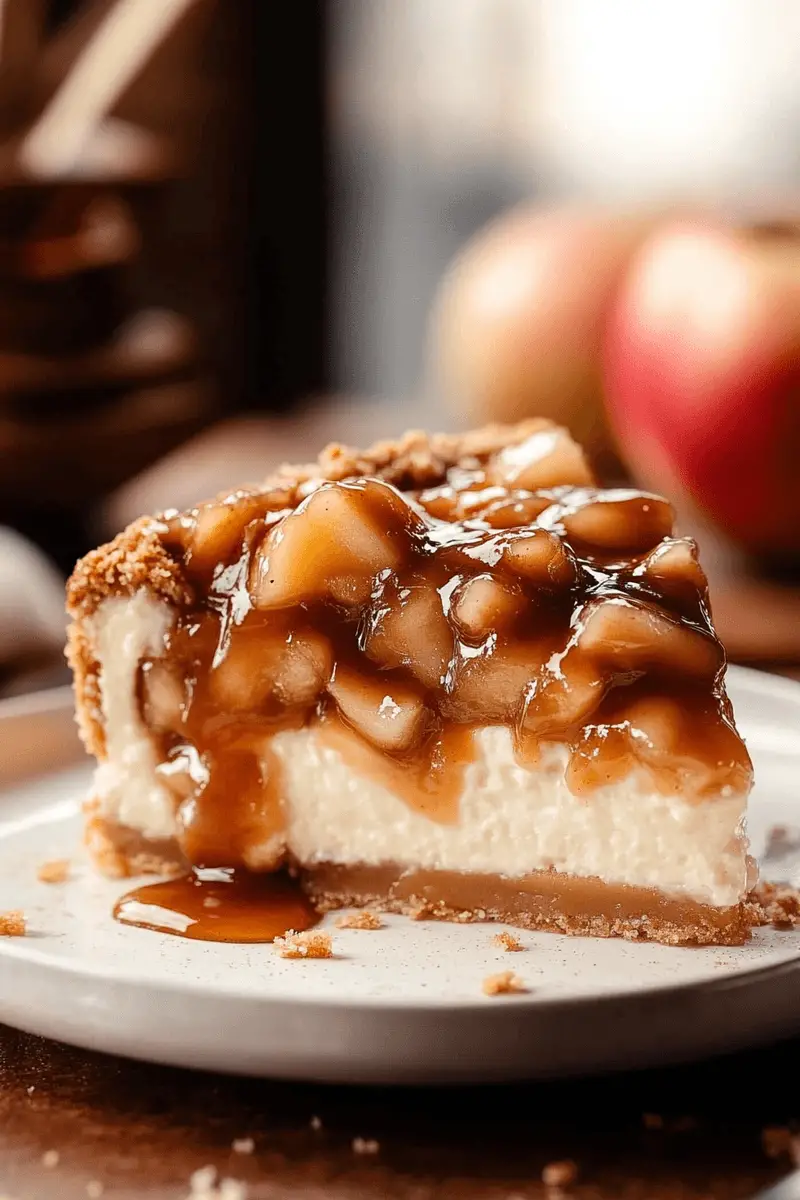
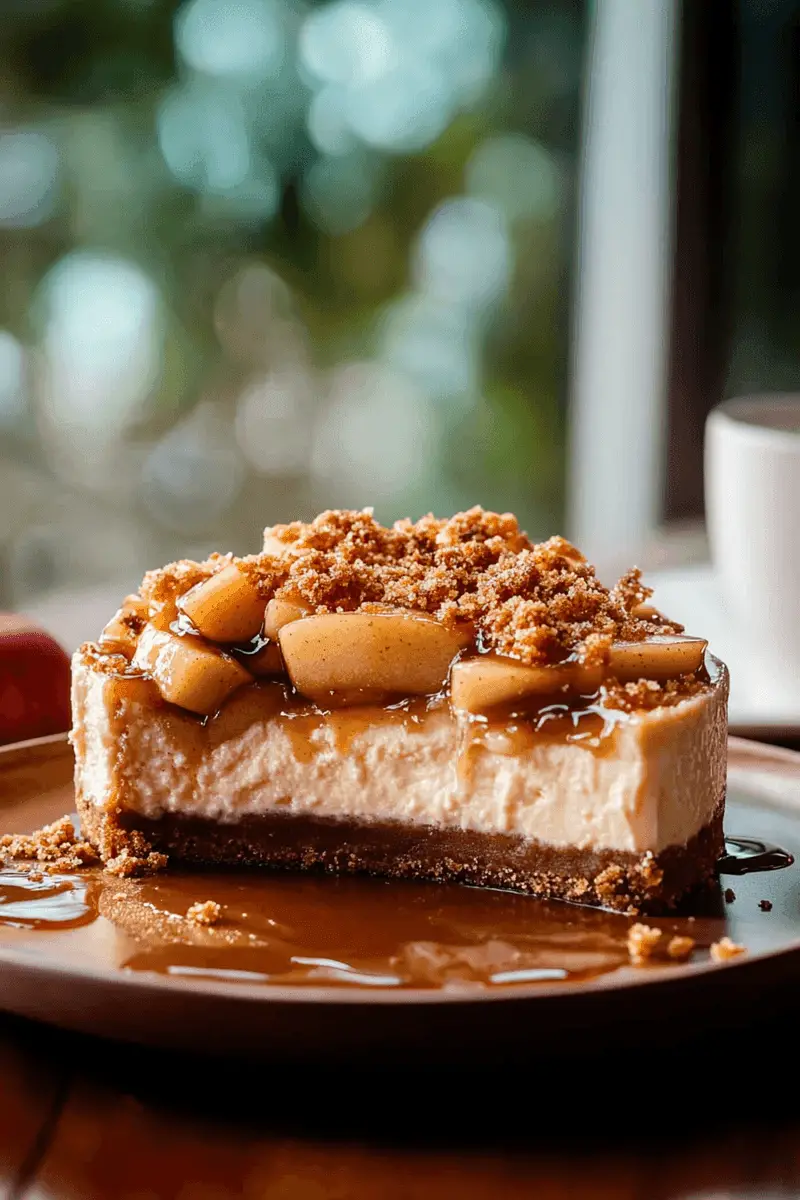
When it comes to desserts, few things capture the essence of comfort food quite like a salted caramel apple pie cheesecake. This decadent treat marries the rich creaminess of cheesecake with the warm, spiced flavors of classic apple pie and the irresistible sweetness of salted caramel. Imagine sinking your fork into a slice of this luscious dessert, where creamy layers meet crunchy crusts and gooey toppings. Not only does this dessert taste heavenly, but it also looks stunning on any dinner table or at gatherings. Whether you’re celebrating a special occasion or simply indulging in a sweet treat after dinner, this salted caramel apple pie cheesecake is sure to impress.
In this article, we’ll explore the essential ingredients needed to create this delightful dessert. We will also provide easy-to-follow step-by-step instructions that ensure your baking experience is pleasant and successful. Plus, you’ll find serving suggestions and storage tips to keep your cheesecake fresh for days. Get ready to embark on a culinary adventure that will leave your family and friends asking for seconds!
Main Ingredients
Cream Cheese
Cream cheese is the foundation of any good cheesecake. For this recipe, you will need 24 ounces of full-fat cream cheese at room temperature. The fat content provides that rich and creamy texture we all love in cheesecakes. Make sure it’s softened before you start mixing; otherwise, you might end up with lumps in your batter. The cream cheese should be blended until smooth to achieve a velvety consistency that forms the base of your dessert.
Granulated Sugar
Granulated sugar is essential for balancing the tartness of the apples while adding sweetness to the cheesecake filling. You will need one cup of sugar for this recipe. The sugar not only sweetens the filling but also contributes to its texture by helping it set during baking. When mixed with cream cheese and eggs, sugar helps create a smooth batter that forms a perfectly sweetened layer within your cheesecake.
Eggs
You will need three large eggs for this recipe. Eggs play a vital role in providing structure and stability to your cheesecake. They help bind all ingredients together while also giving it that delightful custardy texture once baked. Be sure to use eggs at room temperature; they incorporate better with other ingredients when warmed slightly.
Apples
For an authentic apple pie flavor in your cheesecake, use three medium-sized Granny Smith apples (or any tart variety). Peel and core them before dicing into small chunks—this allows them to cook more evenly when layered in the cake. Tart apples contrast beautifully with sweet elements like caramel and sugar, enhancing each bite’s overall flavor profile.
Salted Caramel Sauce
No salted caramel apple pie cheesecake would be complete without homemade or store-bought salted caramel sauce! You’ll need approximately one cup for drizzling over both the filling and as decoration on top of each slice. The salty-sweet balance creates an irresistible flavor contrast that compliments both apples and creamy cheesecake perfectly.
Graham Cracker Crust
The crust will be made from 1 ½ cups of crushed graham crackers combined with ½ cup melted butter and ¼ cup sugar. This mixture forms a sturdy base for your cheesecake while adding crunchiness that contrasts nicely with smooth fillings above it. Press the mixture firmly into a springform pan’s bottom so it holds together well after baking!
Cinnamon
Cinnamon adds warmth and depth to both the filling and apples used within this recipe; you’ll want about 1 teaspoon added directly into your batter along with another teaspoon sprinkled atop cooked apple pieces before layering them inside! This spice evokes comforting memories associated with autumn desserts while enhancing overall flavor complexity.
How to Prepare Salted Caramel Apple Pie Cheesecake
Step 1: Preparing Your Ingredients
Begin by gathering all your ingredients on your countertop to ensure an organized workspace—a vital part of making any successful dish! Preheat your oven to 325°F (160°C) so it’s ready when you’re finished preparing everything else. Make sure you have measuring cups/spoons handy along with mixing bowls, a whisk or electric mixer (for convenience), parchment paper (to line pans if desired), plus an 8 or 9-inch springform pan for easy removal later on.
Once you’ve prepped everything thoroughly—softening cream cheese if necessary—start crushing those graham crackers into fine crumbs using either a food processor or zip-lock bags until they resemble sand-like consistency! Then proceed by combining these crumbs with melted butter & sugar until well-mixed before pressing down into prepared springform pan evenly across its base.
Step 2: Baking The Crust
Now it’s time to bake that graham cracker crust! Place your prepared crust in preheated oven for about ten minutes or until lightly golden brown & fragrant—watch closely as ovens vary slightly! Once done baking remove from oven & allow cooling completely while you prepare filling mixture next; cooling ensures proper layering later without melting away any creamy goodness!
Step 3: Making The Filling
In another bowl combine softened cream cheese & granulated sugar using either an electric mixer or hand whisk until smooth & fluffy—around two minutes should suffice here! Next add eggs one at a time ensuring each is fully incorporated before moving onto next egg addition—this prevents curdling issues later on down road; beat until fluffy again after all eggs have been added then sprinkle cinnamon throughout mixture mixing gently yet thoroughly allowing flavors meld together beautifully!
Finally pour half those diced Granny Smith apples into batter & fold them gently; reserve remaining diced pieces aside for layering once ready! Pour entire filling atop cooled crust spreading evenly across surface ensuring every bit gets equal coverage so once baked it remains consistent throughout entire cake!
Step 4: Adding Apples And Baking
Now we’re ready for those reserved diced apples! Scatter them evenly across top surface layer prior placing into oven again now set back at same temperature previously mentioned which helps retain moisture during longer bake time ahead (around forty-five minutes)! Once edges appear set but center still jiggles slightly when shaken gently remove immediately then let cool down gradually at room temperature afterward!
Afterwards chill inside refrigerator overnight (or minimum four hours) allowing flavors deepen further making every bite truly unforgettable experience next day when finally served up slices onto plates drizzled generously again homemade salted caramel sauce topping off indulgence perfectly each time enjoyed thereafter!

Serving and Storing Tips
Serving Suggestions
To serve your salted caramel apple pie cheesecake beautifully consider presentation first! Use sharp knife dipped in hot water before slicing through cake ensuring clean cuts every single time without losing shape altogether; wipe blade between cuts keeping edges neat throughout serving process too! Lay slices onto decorative plates garnished freshly whipped cream drizzle additional salted caramel sauce atop each slice finishing touches enhance overall appearance greatly just before presentation begins—a feast not only looks great but tastes incredible as well making it irresistible guest favorite during gatherings alike!
Consider pairing slices alongside coffee tea beverage choices too complementing sweetness nicely whilst balancing richness found within dessert itself creating harmony among flavors experienced together every time served up eagerly awaiting reactions from delighted attendees enjoying meal shared amongst friends family alike!
Storing Leftovers Properly
Leftovers of your delicious springform creation can be easily preserved for later enjoyment. To keep it fresh, wrap the entire springform pan tightly with plastic wrap and aluminum foil. This shields it from moisture loss, maintaining its quality for up to two days unrefrigerated. For best results, refrigerate it promptly, significantly extending its shelf life and preserving the taste beyond the initial indulgence.
Alternatively, slice the dessert into portions and store them in airtight containers. Stack these neatly in the fridge to maximize space and minimize waste while keeping the slices intact. Label each container with the preparation date for easy identification and enjoy the excitement of rediscovering your treat when cravings strike unexpectedly.
Feel free to experiment with variations, adding personal touches to the original recipe to create unique versions. These efforts allow you to showcase your individuality and culinary expertise while delighting loved ones with thoughtful creations. Every bite fosters joyful memories and reinforces traditions of sharing special moments.
Baking transcends the act of creating desserts; it connects us through shared laughter, stories, and dreams, crafting memories that last generations. Each lovingly prepared dish becomes a legacy of sweetness, symbolizing togetherness and hope. These cherished moments remind us why baking matters—bringing warmth and light even in difficult times. So, embrace the journey of baking and the joy it brings, knowing that every treat created with love carries forward the bonds of family, friendship, and heartfelt connection.
Mistakes to Avoid
When preparing salted caramel apple pie cheesecake, avoiding common mistakes can make a significant difference in your final product. One frequent error is not properly preparing the crust. A soggy or overly crumbly crust can ruin the texture of your cheesecake. It’s essential to ensure that you press the crust mixture firmly into the pan and pre-bake it slightly before adding the filling. This step helps to create a sturdy base that holds up well under the weight of the cheesecake and toppings.
Another mistake is overmixing the cheesecake batter. While it may be tempting to blend everything until perfectly smooth, overmixing can incorporate too much air, leading to cracks in your cheesecake as it bakes. Instead, mix your ingredients just until combined and avoid beating them excessively. This approach will yield a denser, creamier texture that enhances the overall experience of your salted caramel apple pie cheesecake.
Additionally, many home bakers neglect cooling their cheesecake properly. After baking, it’s crucial to allow it to cool gradually in the oven with the door ajar for at least an hour. This method prevents sudden temperature changes that can cause cracking. Once it’s cooled down, refrigerate it for several hours or overnight for optimal flavor development.
Lastly, don’t forget about balancing flavors. Using too much salt in your caramel sauce can overpower the sweetness of the apples and cheesecake layers. Taste your salted caramel as you prepare it and adjust according to your preferences. A harmonious balance of sweet and salty makes all the difference in achieving a delightful dessert.
Tips and Tricks
To achieve the perfect salted caramel apple pie cheesecake, consider implementing these helpful tips and tricks. First, use high-quality ingredients for each component of your dessert. Fresh apples significantly improve flavor compared to canned or frozen varieties. Opt for tart apples like Granny Smith or Honeycrisp, as they provide a lovely contrast against the rich creaminess of the cheesecake.
Another essential tip is to make your salted caramel sauce from scratch. While store-bought options are convenient, homemade sauce offers superior flavor and allows you to control the saltiness levels better. To create a luscious caramel sauce, melt sugar until golden brown and add butter and heavy cream while stirring continuously for a velvety finish.
When layering your cheesecake elements, consider adding a layer of spiced apple filling between layers of cheesecake. This addition not only enhances flavor but also adds visual appeal when sliced. Use cinnamon and nutmeg in your apple filling to complement both the apples and caramel flavors beautifully.
It’s also advisable to invest in a springform pan if you haven’t already done so. Such pans allow for easier removal of cheesecakes without damaging their structure or presentation. Wrap foil around the bottom of the pan before adding batter; this will help prevent any leaks during baking.
Finally, take time during serving presentation by drizzling extra salted caramel on top and garnishing with whipped cream or chopped nuts for added texture and flavor contrast.
Suggestions for Salted Caramel Apple Pie Cheesecake
When making salted caramel apple pie cheesecake, there are several suggestions that will enhance its taste and presentation while ensuring success in execution. Start by adjusting ingredient proportions according to personal preference; if you love more apple flavor, increase the amount of diced apples in your filling without compromising other ingredients’ ratios.
Consider infusing spices into your crust as well; adding cinnamon or nutmeg can elevate its flavor profile significantly. Even small changes can lead to delightful variations that surprise guests at gatherings.
For those who enjoy an extra indulgent treat, incorporating a layer of chocolate ganache beneath the cheesecake layer can add richness that complements both apple and caramel beautifully while providing an unexpected twist on traditional flavors.
If you’re looking for gluten-free options, substitute traditional graham crackers with almond flour or gluten-free biscuit alternatives for your crust base without sacrificing taste or texture.
Lastly, experiment with different types of toppings beyond classic whipped cream—think candied pecans or even crushed pretzels for added crunch! These elements contribute not only varied textures but also create eye-catching presentations sure to impress anyone at dessert time.

FAQs
What is a salted caramel apple pie cheesecake?
Salted caramel apple pie cheesecake combines three delicious desserts into one: rich cheesecake filled with creamy cheese mixture infused with spiced apples layered over a buttery crust topped generously with homemade salted caramel sauce drizzled artfully across its surface—perfectly marrying sweet and salty flavors together!
Can I use store-bought components?
While using store-bought components such as crusts or sauces might save time initially, we recommend making these from scratch whenever possible! Doing so enhances quality significantly while allowing customization tailored specifically towards personal taste preferences which ultimately result in richer end products enjoyed by all!
How do I prevent my cheesecake from cracking?
To prevent cracks during baking process ensure gradual temperature changes—cooling slowly within oven after baking before transferring outside works wonders here! Avoid overmixing batter too much prior as well; remember: less air equals fewer chances of unsightly fissures forming throughout delicious dessert layers!
What type of apples work best?
Tart varieties such as Granny Smith are ideal choices due their ability counterbalance sweetness present within both cake itself & accompanying toppings! Honeycrisp provides another excellent option due its crispness & balanced natural sugars that elevate overall profile even further!
Can I freeze leftover cheesecake?
Yes! Freezing leftover slices allows you enjoy this scrumptious treat later on without losing flavor quality! Wrap slices tightly using plastic wrap followed by aluminum foil before placing them inside freezer-safe containers—these methods help retain moisture ensuring fresh taste upon thawing later down road!
How long does this dessert last?
Salted caramel apple pie cheesecake typically maintains freshness stored properly inside refrigerator up 5-7 days maximum duration depending upon specific ingredients used within recipe itself! If storing longer than suggested timeframe freezing becomes best alternative preserving delectable textures & flavors intact!
Conclusion
Creating a successful salted caramel apple pie cheesecake involves avoiding common mistakes while implementing valuable tips throughout preparation stages diligently observed along way—from ingredient selection all way through serving presentation! Remember crucial aspects like proper cooling techniques alongside maintaining balance between sweet & salty notes enrich overall experience greatly enjoyed alike by friends family members alike!
By exploring various suggestions including experimenting with alternative toppings enhancing flavor profiles further elevates enjoyment level significantly—it’s truly about combining creativity culinary expertise into one harmonious dessert masterpiece worthy sharing occasions big small alike!
Summarizing key takeaways ensures seamless journey towards crafting heavenly creations; apply these insights next time indulging yourself making scrumptious concoctions right within own kitchen space!


