Introduction
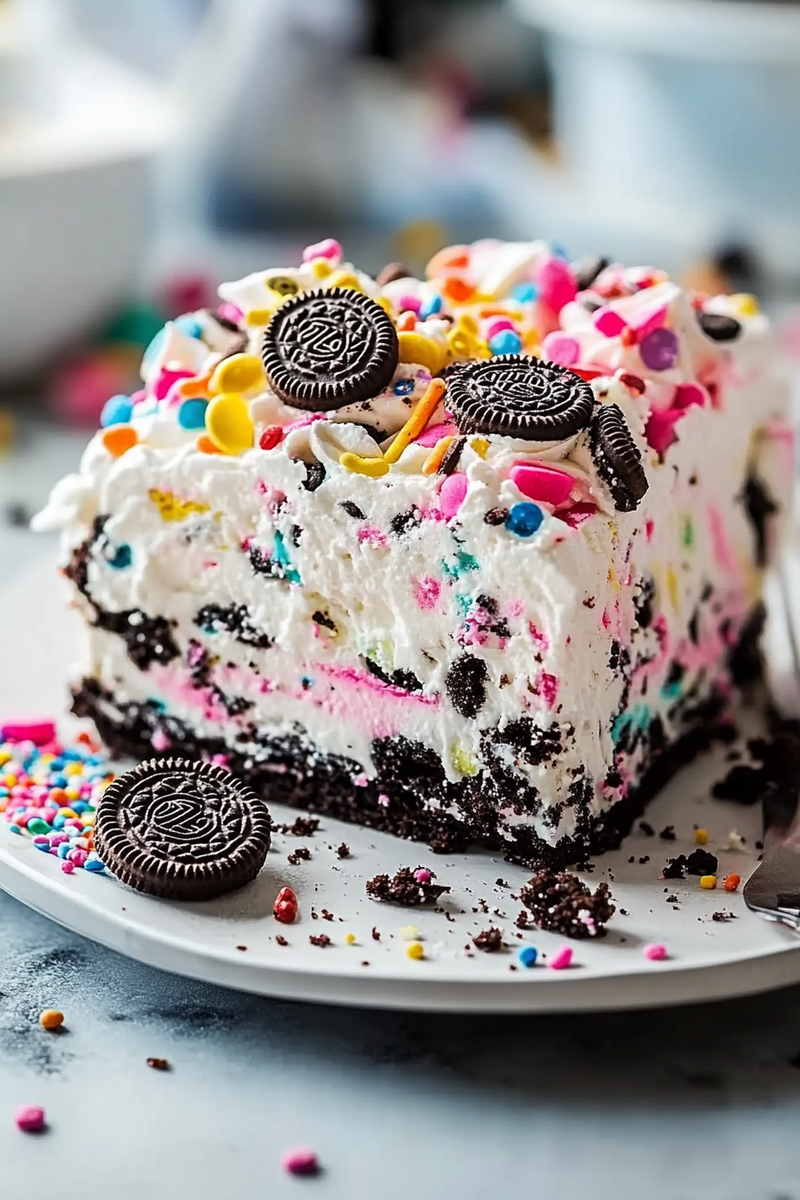
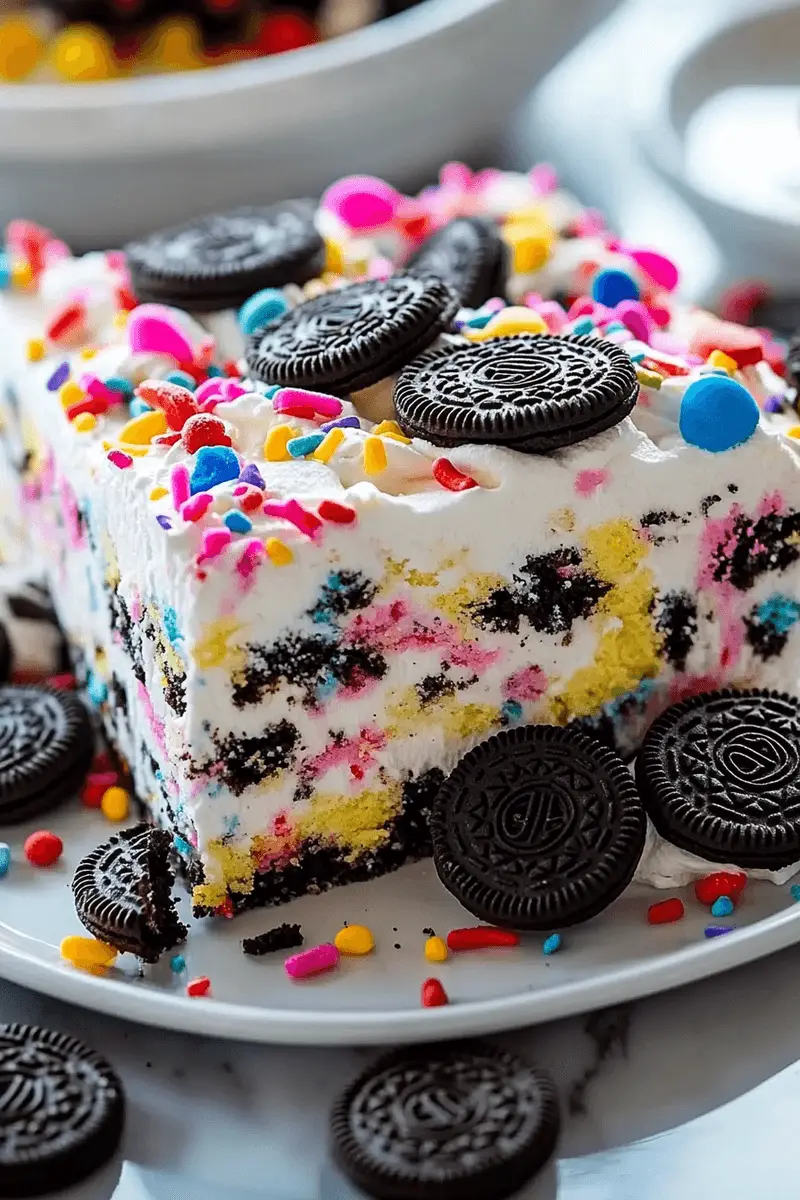
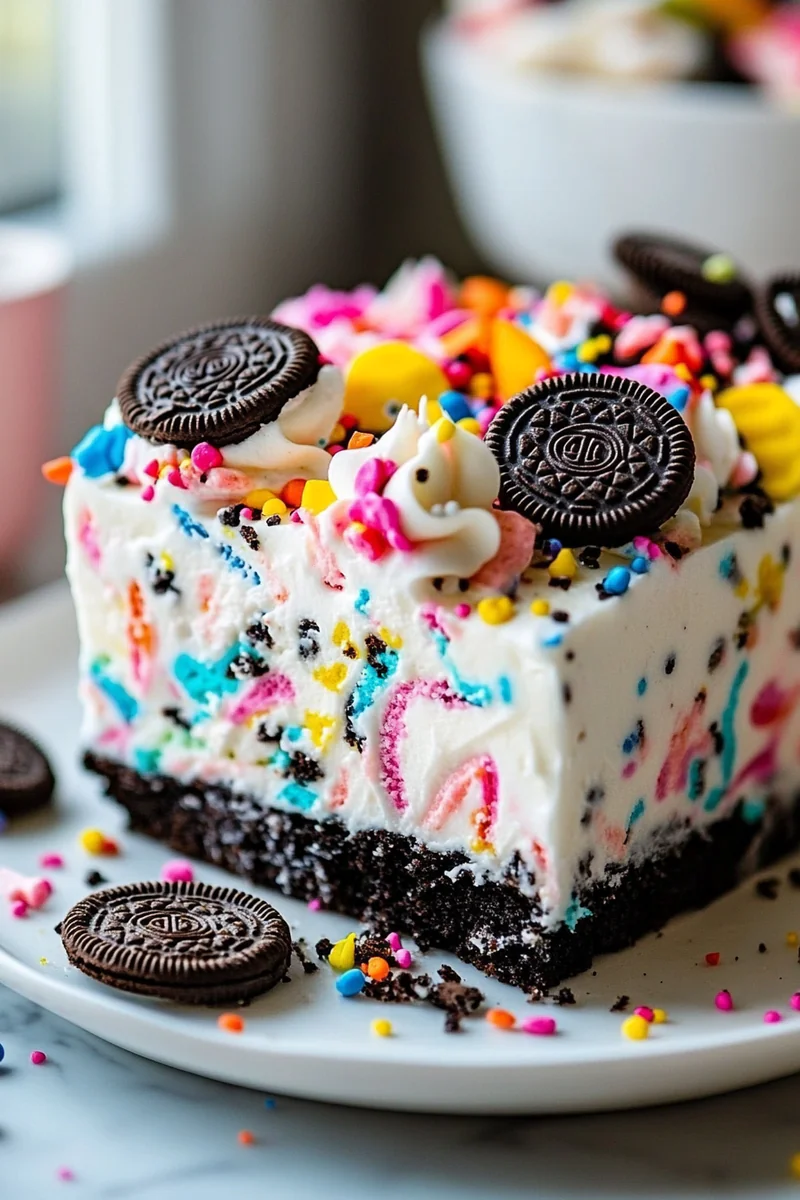
If you’re looking for a show-stopping dessert that requires minimal effort and delivers maximum flavor, then this No-Bake Funfetti Oreo Icebox Cake is the perfect choice. Bursting with vibrant colors and delightful texture, this cake combines layers of crunchy Oreos with a creamy filling that will leave your taste buds dancing. Whether you’re celebrating a birthday or simply indulging in a sweet treat after dinner, this no-bake dessert fits the bill.
The beauty of the No-Bake Funfetti Oreo Icebox Cake lies in its simplicity. You don’t need an oven or complicated baking skills to create this masterpiece. Just gather your ingredients, assemble the layers, and let the refrigerator do the rest. The combination of Oreos and whipped cream creates a light yet decadent experience that everyone will love. Plus, it’s customizable! Feel free to add more sprinkles or even substitute different cookies to tailor the flavor to your liking.
In this article, we’ll guide you through the essential ingredients needed for this cake and provide step-by-step instructions on how to prepare it at home. Follow along as we help you create an unforgettable dessert that will impress guests and family alike!
Main Ingredients
Oreo Cookies
To create the foundation of your No-Bake Funfetti Oreo Icebox Cake, you’ll need about 24 Oreos. These iconic cookies are not only delicious but also add a rich chocolatey flavor that perfectly balances the sweetness of the filling. Crush them into fine crumbs using either a food processor or by placing them in a zip-top bag and smashing them with a rolling pin. The crushed Oreos will serve as both the base layer and decoration for your cake.
Cream Cheese
You’ll need 8 ounces of softened cream cheese for this recipe. Cream cheese provides a rich and tangy flavor that complements the sweetness of other ingredients beautifully. Make sure it’s at room temperature for easy mixing; otherwise, you may end up with lumps in your filling. When whipped together with sugar and whipped cream, it creates a smooth texture that holds everything together.
Whipped Topping
A tub of whipped topping (approximately 8 ounces) is essential for achieving that light and airy texture in your cake. Using pre-made whipped topping saves time compared to whipping cream from scratch. Fold it into your cream cheese mixture gently to maintain its fluffy consistency while ensuring everything is well combined.
Powdered Sugar
Add about 1 cup of powdered sugar to sweeten your filling without making it overly sweet. Powdered sugar dissolves easily into mixtures compared to granulated sugar, allowing for a smoother texture in your cream cheese layer. Adjust the quantity based on your personal preference; if you like it sweeter, feel free to add more!
Sprinkles
Around ½ cup of colorful sprinkles adds fun and festive flair to your cake! Not only do they enhance the visual appeal of the dessert but they also contribute subtle sweetness throughout each layer. Opt for rainbow sprinkles or thematic colors depending on the occasion; they make any gathering feel special.
How to Prepare No-Bake Funfetti Oreo Icebox Cake
Step 1: Prepare Your Ingredients
Begin by gathering all your ingredients on a countertop or table where you can work comfortably. This includes measuring out all components accurately before starting – crushed Oreos, softened cream cheese, whipped topping, powdered sugar, and sprinkles should all be ready at hand.
Next, take out two mixing bowls: one for combining wet ingredients (cream cheese mixture) and another for dry (crushed Oreos). If you don’t have crushed Oreos yet from earlier steps, do so now by crushing whole cookies either in a food processor or using a zip-top bag method until they’re finely ground.
Make sure you have an 8-inch square baking dish (or similar size) ready as well; this is where you’ll layer everything together! Having these preparations set simplifies the process so you can focus solely on creating delicious layers.
Step 2: Mix Cream Cheese Filling
In one mixing bowl, beat together softened cream cheese and powdered sugar using an electric mixer until smooth and creamy without lumps remaining visible – approximately 2 minutes should suffice here! Scrape down sides occasionally with rubber spatula so nothing gets left behind during mixing.
Once completed successfully without lumps showing up anymore visually speaking—gently fold in half of your whipped topping into this mixture until fully incorporated while being careful not to deflate it too much since we want our filling light yet firm enough when layered later on!
Afterward mix in half of the sprinkles—this adds color right away into our filling which makes every bite look delightful when served later! Set aside once done so we can start building our layers shortly thereafter!
Step 3: Layer Your Cake
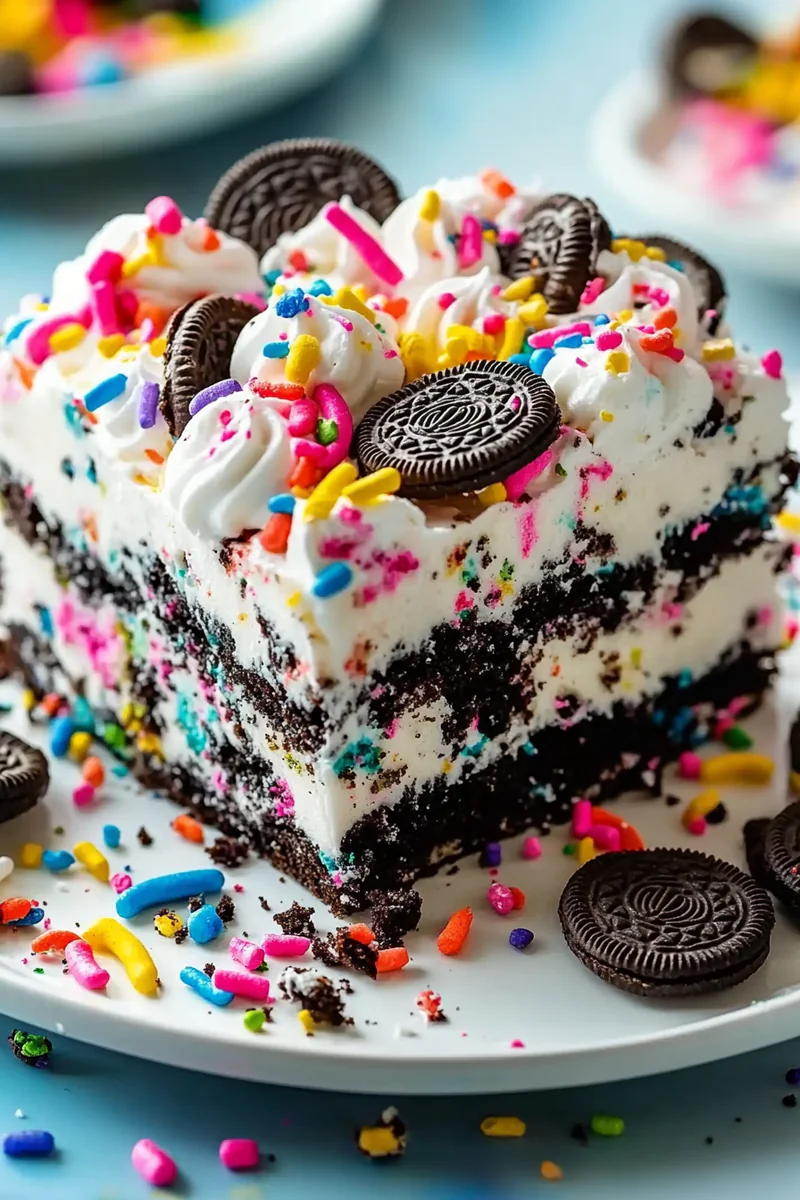
Now comes one of my favorite parts—layering! Start by spooning about half of those crushed Oreos evenly across bottom of prepared baking dish; press down gently with back side spatula so they form solid foundation leading us towards beautiful creation ahead!
Next layer half of that luscious cream cheese mixture over top pressed down oreo base evenly distributing it across surface area—this ensures every slice has equal amounts found throughout while maintaining beautiful presentation when cut later during serving time!
Repeat these steps again with remaining crushed oreos followed by rest remaining cream cheese filling now—spreading it out evenly just like last round before finally topping off with final layer containing leftover crumbled oreo pieces scattered generously atop surface area decoratively adding finishing touch visually pleasing as well!
Finally cover tightly with plastic wrap ensuring no air pockets exist inside allowing moisture retention during chilling process which follows next step here soon…
Step 4: Chill Until Firm
Place covered baking dish carefully inside refrigerator allowing patience here since we want those flavors develop fully together while also firming up nicely overall texture present here too! Ideally aim for four hours minimum but overnight works even better if possible giving ample time letting everything meld together beautifully enhancing flavor profiles enjoyed later upon serving time too!
When checking firmness after chilling period has elapsed—you’ll know it’s ready once edges appear slightly set along sides while center remains soft yet holds shape when pressed gently downwards lightly allowing slight bounce back effect seen whilst doing so indicating successful outcome achieved here during cooling time spent beforehand!
Serving and Storing Tips
Serving Suggestions
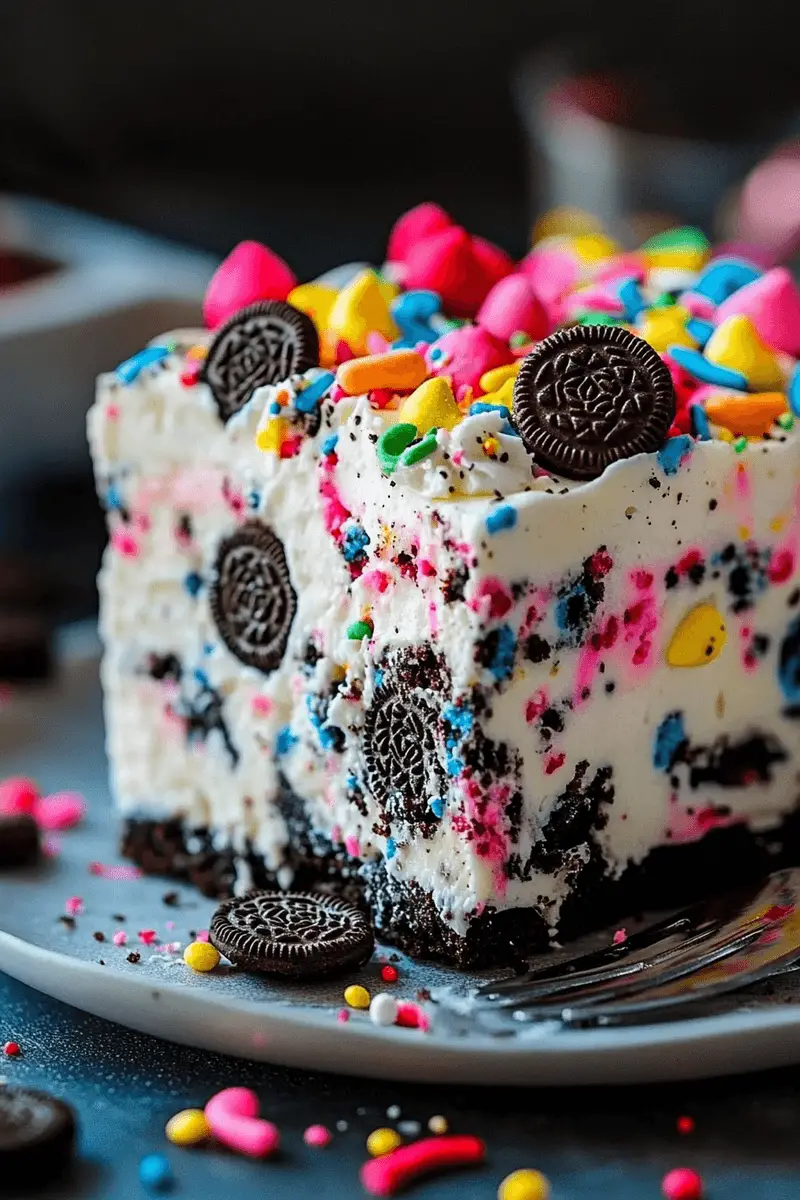
When ready to serve your delightful No-Bake Funfetti Oreo Icebox Cake—take care slicing portions using sharp knife cutting straight downwards motion through layers without disturbing structure too much overall ensuring clean cuts made each time! Aim for squares around two inches by two inches per slice which makes ideal portion sizes perfect enough satisfying bites enjoyed amongst guests gathered around table sharing laughter stories fond memories shared together enjoying dessert afterwards!
For added flair presentation-wise consider garnishing each slice topped off alongside dollop freshly whipped cream sprinkled some additional colorful sprinkles surrounding plate itself creating eye-catching display sure please everyone present at gathering especially kids who adore anything bright fun celebrate occasions such birthdays parties gatherings alike!
Another idea would be pairing slices alongside scoop vanilla ice cream drizzled chocolate sauce poured generously overtop making decadent combination truly unforgettable experience enjoyed amongst loved ones gathered around kitchen table sharing moments created enjoying baked goods made from heart filled love passion shared widely amongst family friends alike!
Storing Leftovers
Leftover slices can last up until five days stored properly within airtight container placed back inside refrigerator keeping them fresh longer avoiding spoilage occurring prematurely due exposure air elements outside potentially ruining texture quality desired enjoyed previously before storage took place afterwards instead enjoying flavors preserved longer thanks proper sealing methods applied beforehand done here today ensuring maximum satisfaction received whenever craving strikes again wanting more later down line post initial indulgence experienced earlier already satisfied tastebuds completely satisfied once served originally prior times over past weeks leading up till now again eventually returning here wanting seconds thirds fourths etc., happily indulging once more whenever opportunity arises next weekend perhaps?
In conclusion savoring delightful experience had throughout entire process created from scratch including assembly layering aspects involved ultimately yielding scrumptious results obtained fulfilling taste sensations brought forth through every bite consumed alongside cherished moments shared between families friends gatherings alike—the No-Bake Funfetti Oreo Icebox Cake truly shines bright amidst decadent dessert offerings available today showcasing simplicity elegance combined cleverly yielding spectacular results always guaranteed success achieved every single time try making yours too soon getting started today right away!
Mistakes to avoid
When making a No-Bake Funfetti Oreo Icebox Cake, it’s essential to steer clear of common pitfalls that can compromise your dessert’s taste and texture. One major mistake is using stale or crushed Oreos. Fresh, crispy cookies are crucial for achieving the right texture when layered. If you use stale cookies, they may not hold up well when absorbing moisture from the filling, resulting in a soggy cake. Always check the expiration date and opt for a new package.
Another mistake is not allowing enough time for the cake to set in the refrigerator. This cake benefits from chilling for at least four hours, but ideally overnight. Skipping this step might leave the layers unstable and make serving difficult. The longer you allow it to chill, the firmer and more cohesive your icebox cake will be.
Overmixing the whipped cream is another common issue. When you whip cream, you want it to be light and fluffy; overmixing can turn it grainy or even lead to butter formation. It’s best to stop mixing as soon as soft peaks form. Additionally, be mindful of your layering technique. If you don’t layer evenly or pack in too many ingredients, it can create an uneven structure that affects both appearance and flavor.
Lastly, failing to balance sweetness can ruin your dessert experience. While Oreos bring sweetness, adding too much sugar into the whipped cream can make it overwhelmingly sweet. Taste as you go and adjust accordingly to achieve a perfect balance that enhances all flavors without overpowering them.
Tips and tricks
To create a stellar No-Bake Funfetti Oreo Icebox Cake, consider implementing these helpful tips and tricks. First, choose high-quality ingredients. Opt for premium vanilla extract and fresh heavy cream for whipping; they significantly enhance flavor profiles. Using high-quality ingredients makes a noticeable difference in taste and elevates your cake from average to extraordinary.
Next, when layering your cake with fillings or toppings, take care with portion control. It’s easy to get carried away with adding extra sprinkles or frosting between layers; however, maintaining a balanced ratio of cookie to filling ensures each bite tastes harmonious. Too much filling can result in a messy slice that’s hard to serve.
Utilizing different Oreo flavors can add a fun twist to your traditional recipe. Consider using Birthday Cake or Mint Oreos for unique variations on this classic dessert—these alternatives provide exciting flavor combinations while still retaining the essence of an iconic icebox cake.
Always remember to use parchment paper at the bottom of your pan before starting assembly; this simple trick allows for easy removal once the cake has set. Finally, garnishing is key! Top your No-Bake Funfetti Oreo Icebox Cake with additional whipped cream and sprinkles right before serving for a visually stunning presentation that enhances its appeal.
Suggestions for No-Bake Funfetti Oreo Icebox Cake
When making a No-Bake Funfetti Oreo Icebox Cake, there are several suggestions that can elevate your baking experience. First and foremost, consider incorporating various textures into your layers by adding chopped nuts or chocolate chips along with the sprinkles in each layer of filling. This added crunch will create delightful contrasts against the creamy whipped topping.
Using gel food coloring instead of liquid food coloring is another great suggestion if you want vibrant colors in your funfetti layers without altering consistency significantly. Gel colorings are more concentrated and won’t dilute your whipped mixture like liquids might do.
For an added touch of flavor, infuse your whipped cream with extracts such as almond or coconut alongside vanilla extract—these subtle notes can provide depth while complementing the overall dessert nicely. You could also experiment with flavored cream cheese instead of traditional whipped cream; this adds richness while maintaining that no-bake charm.
If you’re looking to make this dessert gluten-free, substitute regular Oreos with gluten-free varieties available on the market; this way everyone can enjoy this delicious treat without any dietary concerns.
Lastly, don’t forget about presentation! Use decorative serving dishes or plates that contrast beautifully against the colors of your cake; this enhances visual appeal and makes serving even more enjoyable.
FAQs
What is a No-Bake Funfetti Oreo Icebox Cake?
A No-Bake Funfetti Oreo Icebox Cake is a delightful layered dessert made without baking that combines crushed Oreos with whipped cream and colorful sprinkles for an exciting twist on classic icebox cakes. This dessert typically features alternating layers of creamy filling and crispy cookie layers that meld beautifully together after chilling in the refrigerator. The funfetti elements add pops of color through sprinkles within each layer while providing an enjoyable celebration vibe suitable for birthdays or gatherings.
How long does it take to make a No-Bake Funfetti Oreo Icebox Cake?
Making a No-Bake Funfetti Oreo Icebox Cake usually requires about 30 minutes of active preparation time followed by several hours of chilling time—typically around four hours minimum but ideally overnight—for optimal results! During this waiting period, flavors meld together while layers firm up nicely so they hold their shape when sliced later on serving day!
Can I prepare this cake ahead of time?
Absolutely! Preparing a No-Bake Funfetti Oreo Icebox Cake ahead of time actually works wonderfully since it needs ample refrigeration space anyway! You can assemble it one day prior before serving guests; just store it covered in the refrigerator until you’re ready—it will remain deliciously fresh!
What toppings work well on top of the icebox cake?
There are numerous creative options for topping off your No-Bake Funfetti Oreo Icebox Cake! Whipped cream dollops sprinkled generously across its surface provide elegance while colorful sprinkles add excitement reminiscent of birthday celebrations! Alternatively consider drizzling melted chocolate sauce or caramel sauce overtop just before serving—this creates an indulgent finish!
Can I use different flavors of Oreos?
Certainly! One great aspect about creating a No-Bake Funfetti Oreo Icebox Cake is its versatility regarding flavors—you may swap traditional chocolate-flavored Oreos with other varieties like Birthday Cake Oreos or Mint Oreos depending on personal preferences! Each alternative brings forth unique flavor combinations while keeping true those delicious crunchy textures we love so much!
How should I store leftovers?
If there happens to be any leftover slices after enjoying your No-Bake Funfetti Oreo Icebox Cake (which is unlikely!), simply cover them tightly with plastic wrap or transfer them into an airtight container then place them back into the refrigerator where they’ll stay good for up-to three days maximum due freshness regulations surrounding dairy products used within its composition!
Conclusion
To recap key points about creating an irresistible No-Bake Funfetti Oreo Icebox Cake: focus on selecting high-quality ingredients such as fresh heavy cream and premium vanilla extract which dramatically improve overall taste quality! Avoid common mistakes like using stale cookies by ensuring freshness throughout assembly processes instead! Incorporate diverse textures by adding crunchy elements like chopped nuts while keeping proportions balanced between fillings—you’ll achieve harmonious bites every time!
Remember that chilling time plays an important role here; allow ample refrigeration so layers set properly before slicing into servings later down line! Lastly don’t hesitate experimenting creatively—from alternative cookie flavors down garnishing techniques—allowing room for personal touches transforms what could’ve been just another dessert into something truly exceptional worth celebrating at gatherings big (or small) alike!
Print
No-Bake Funfetti Oreo Icebox Cake
- Total Time: 40 minutes
- Yield: 8 servings 1x
Description
This delightful, no-bake dessert combines layers of Funfetti whipped cream, Oreo cookies, and colorful sprinkles. Perfect for parties or a quick treat, it’s a feast for both the eyes and the taste buds!
Ingredients
- 2 cups heavy whipping cream
- 1/2 cup powdered sugar
- 1 tsp vanilla extract
- 1 cup Funfetti cake mix
- 20 Oreo cookies
- Colorful sprinkles (for garnish)
Instructions
- Whip heavy cream, powdered sugar, and vanilla until stiff peaks form. Fold in Funfetti cake mix.
- In a pan, layer Oreo cookies and whipped cream, alternating until you finish with whipped cream.
- Top with sprinkles and refrigerate for 4 hours or overnight.
Notes
- You can substitute the Funfetti mix with a similar cake mix for variety.
- Use different sprinkles for seasonal themes.
- Prep Time: 20 minutes
- Cook Time: 20 minutes
Nutrition
- Calories: ~320 per serving
- Sugar: 22g
- Fat: 18g
- Carbohydrates: 35g
- Protein: 4g
