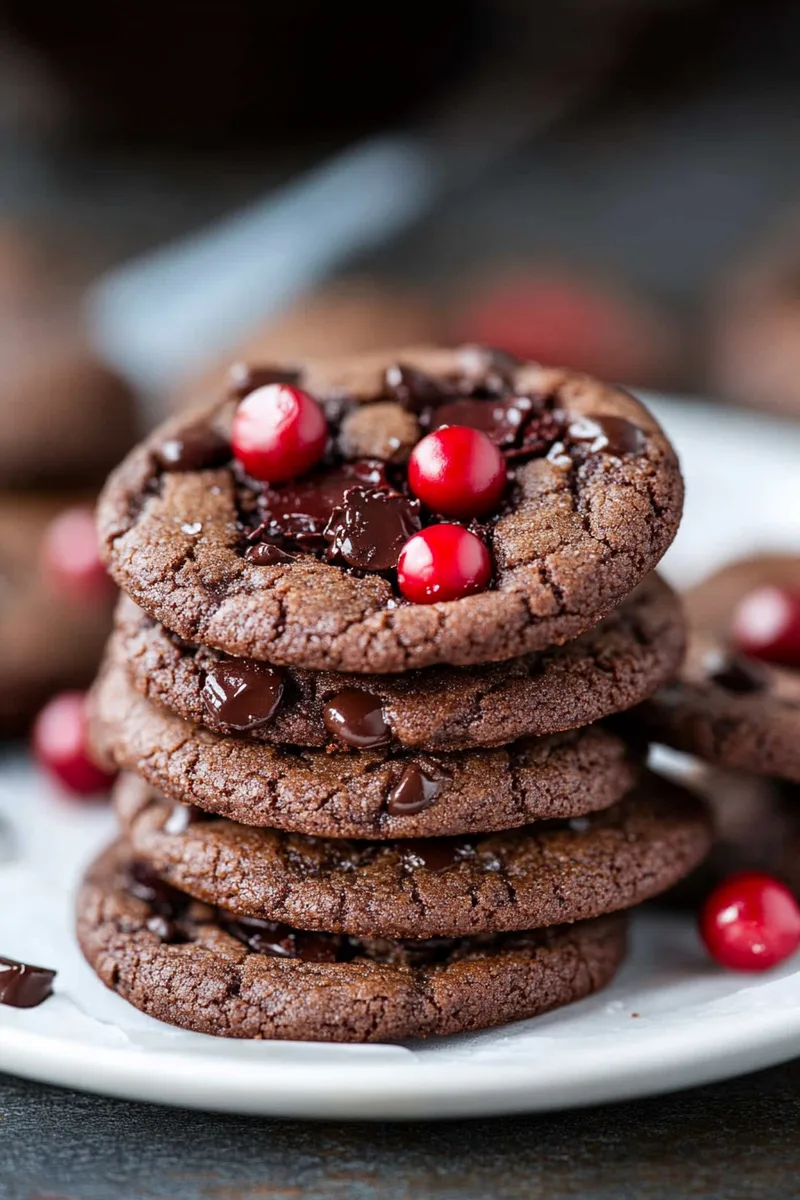
Introduction and Quick Summary
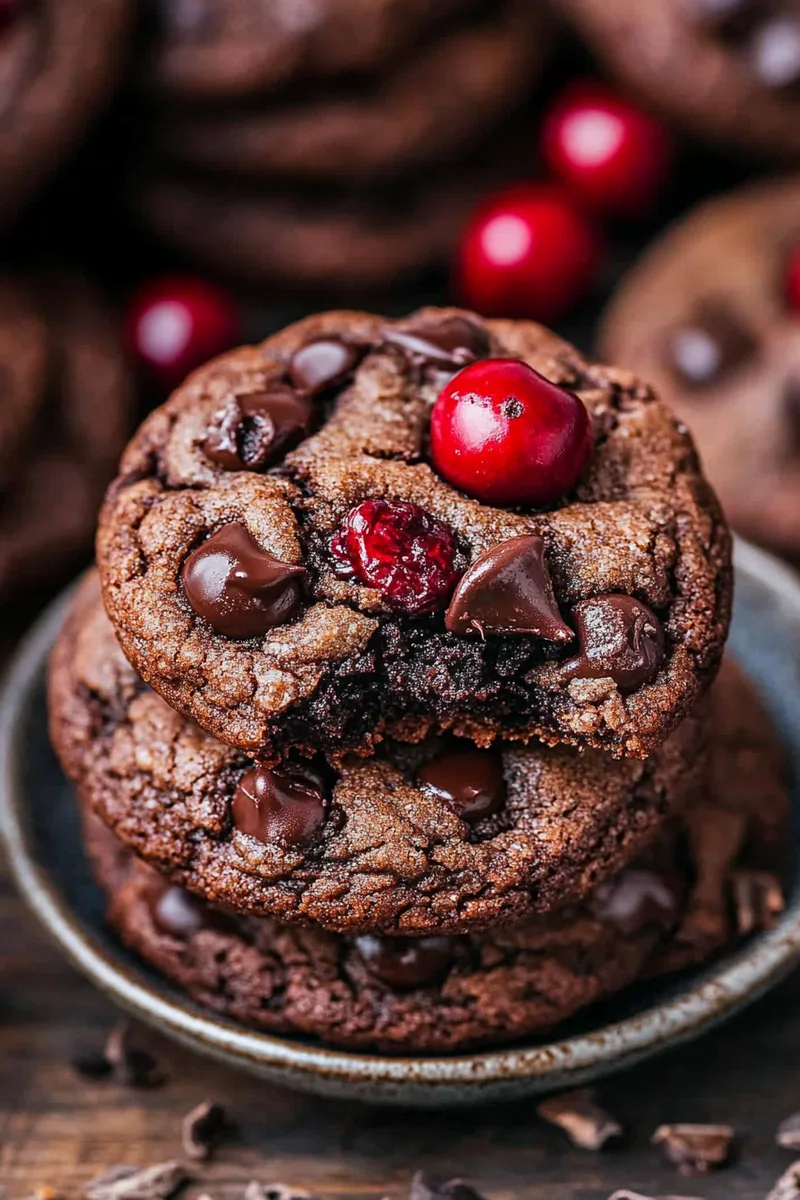
Welcome to the delightful world of baking with our irresistible Black Forest Cookies. This recipe brings together the rich flavors of chocolate and cherries, inspired by the classic German dessert. If you’ve ever wondered how to create a cookie that captures that familiar taste while being easy to make at home, you’re in the right place. These cookies are not only a feast for your taste buds but also a visual treat with their dark color and luscious cherry bits peeking through.
Black Forest Cookies are perfect for any occasion—be it a casual get-together or a festive celebration. They are soft, chewy, and filled with decadent chocolate chunks along with tart cherry pieces that balance the sweetness beautifully. In this article, we’ll guide you through each step of making these delectable treats from scratch. You’ll discover the essential ingredients needed to achieve that authentic flavor and texture. Get ready to impress your friends and family with your baking skills as we delve into the process of creating these mouthwatering cookies.
So grab your apron and let’s embark on this delightful baking adventure together! Whether you’re an experienced baker or just starting out, you’ll find that making Black Forest Cookies is both fun and rewarding.
Main Ingredients
All-Purpose Flour
All-purpose flour is the foundation of our Black Forest Cookies. You’ll need about 2 cups for this recipe. It provides structure and stability while allowing the cookies to spread slightly during baking. For best results, measure your flour correctly by spooning it into your measuring cup and leveling it off with a knife.
Unsweetened Cocoa Powder
Cocoa powder adds the essential chocolate flavor that defines these cookies. You’ll need half a cup of unsweetened cocoa powder. This ingredient not only contributes to the rich taste but also gives our cookies their deep color. Opt for high-quality cocoa powder for the best flavor profile.
Granulated Sugar
Sugar is crucial for sweetness and helps achieve that desirable chewy texture in our cookies. Use one cup of granulated sugar in this recipe. The sugar caramelizes slightly during baking, creating a beautiful crust on each cookie while keeping them soft inside.
Brown Sugar
Brown sugar adds moisture and richness due to its molasses content. You’ll want three-quarters of a cup packed brown sugar for this recipe. It enhances the overall flavor profile and ensures that these cookies remain soft even after cooling.
Butter
Butter plays a significant role in adding flavor and richness to our Black Forest Cookies. Use one cup (two sticks) of unsalted butter at room temperature for optimal mixing. It’s essential to cream the butter well with sugars to incorporate air into the dough, ensuring lightness in every bite.
Eggs
Eggs act as binding agents in our cookie dough while providing moisture. You’ll need two large eggs for this recipe. They help emulsify ingredients together, contributing to that chewy texture we all love in cookies.
Semi-Sweet Chocolate Chips
To enhance the chocolate experience, add one cup of semi-sweet chocolate chips into your dough. These chips will melt slightly during baking, creating gooey pockets of chocolate throughout each cookie.
Dried Cherries
For that signature Black Forest flavor, include one cup of dried cherries in your mix. Cherries provide a tart contrast to the sweet chocolate base, making each bite an explosion of flavor reminiscent of traditional Black Forest cake.
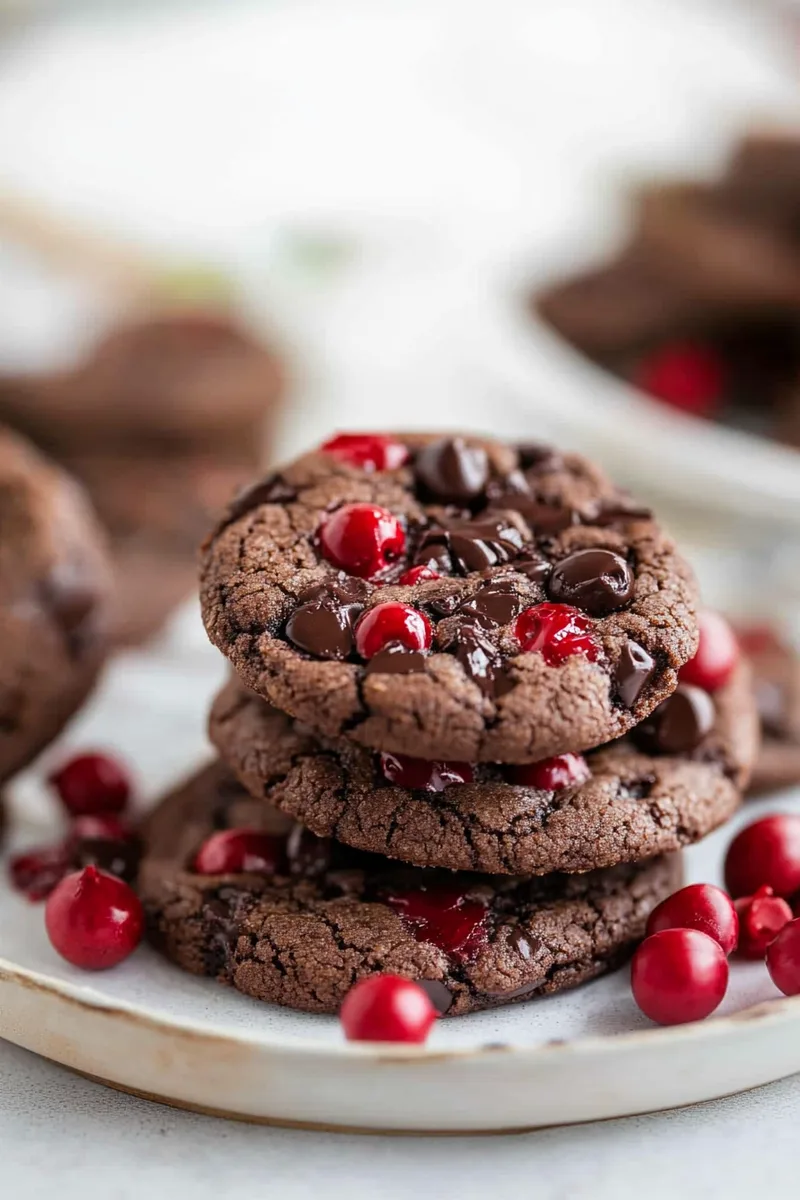
How to Prepare Black Forest Cookies
Step 1: Prepare Your Baking Equipment
Before you begin mixing ingredients for your Black Forest Cookies, prepare your kitchen workspace efficiently. Start by preheating your oven to 350°F (175°C). Line two baking sheets with parchment paper; this will prevent sticking and make cleanup easier later on. Ensure you have all necessary tools on hand: mixing bowls, measuring cups and spoons, an electric mixer or whisk, spatula, and cooling racks are essential items you’ll need throughout this process.
Step 2: Cream Butter and Sugars Together
In a large mixing bowl, add softened unsalted butter along with both granulated sugar and brown sugar. Using an electric mixer or whisking by hand will work here; beat until light and fluffy—about 3-4 minutes should suffice if using an electric mixer set at medium speed. Pay attention as you mix; proper creaming incorporates air into your mixture which creates fluffier cookies! This step is vital because it sets up ideal conditions for achieving chewy yet tender results when baked.
Step 3: Incorporate Eggs
Once you have achieved that fluffy consistency from creaming butter with sugars, it’s time to add those two large eggs one at a time into the mixture while continuing to mix slowly until fully incorporated between additions—this usually takes about 30 seconds per egg when using an electric mixer set at low speed so as not too overmix! Adding eggs contributes moisture as well as acts as binding agents within our dough ensuring everything holds together without falling apart after baking!
Step 4: Mix Dry Ingredients Separately
In another bowl combine all-purpose flour sifted together with unsweetened cocoa powder alongside some baking soda (1 teaspoon), salt (1/2 teaspoon), and dried cherries coarsely chopped if desired—this helps distribute evenly throughout dough later! Gently whisk dry mixture until fully combined before gradually folding into wet mixture from previous steps using spatula or wooden spoon—this prevents lumps forming while ensuring no flour streaks remain visible!
Step 5: Add Chocolate Chips
Now comes one of my favorite parts—the addition of semi-sweet chocolate chips! Gently fold them into dough until evenly distributed throughout batter without over-mixing; you want those delicious bits nestled inside every single cookie once baked! After incorporating all components cohesively together allow resting period where covered bowl can go chill out within refrigerator roughly around 30 minutes—this enables flavors meld beautifully enhancing overall texture!
Step 6: Scoop & Bake
Using tablespoon or cookie scoop portion out rounded tablespoons full onto lined baking sheets spacing them about two inches apart since they will spread during cooking process once heat hits them! Bake within preheated oven approximately 10-12 minutes until edges appear firm but centers look slightly underbaked—that’s perfect because residual heat continues cooking after removal! Allow cooling briefly on sheet before transferring onto wire racks completely cool down before savoring!
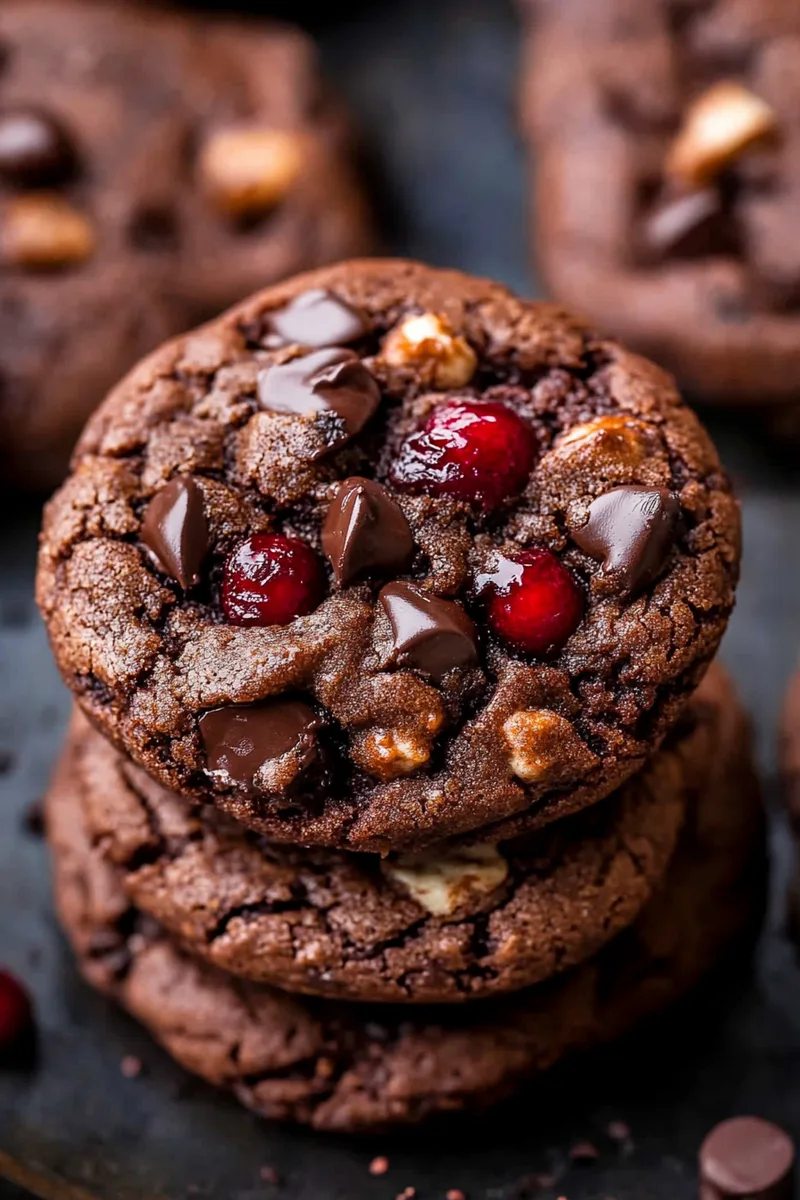
Serving and Storing Tips
Serving Suggestions
When serving your freshly baked Black Forest Cookies warm from the oven or shortly thereafter consider pairing them alongside various accompaniments such as vanilla ice cream or whipped cream drizzled over top allowing guests indulge even further! These treats also pair wonderfully well paired next alongside coffee beverages offering delightful contrast flavors match perfectly enhancing enjoyment overall!
For holiday gatherings opt presenting these beautiful creations displayed neatly upon decorative platters garnished fresh mint leaves dollops whipped cream sprigs offering visual appeal guests won’t resist reaching out trying few as they pass by! Whether served alone enjoyed sharing moments family friends alike be prepared witness smiles delight each time someone takes first bite into rich chocolaty goodness warm cherry explosion bites!
Storage Recommendations
To keep those incredible flavors intact longer store leftover cookies within airtight containers preferably placed cool dry areas away direct sunlight exposure which could affect texture over time ruining their freshness—it’s advised consume within week although refrigerating prolongs life expectancy extending enjoyment longer duration as well! If looking freeze them simply layer parchment paper between batches placing inside freezer bags allowing enjoy later whenever cravings strike back!
For optimal thawing process let sit room temperature approximately hour allowing regain original softness prior enjoying again—no one wants stale hard treats when there’s possibility indulging perfectly preserved delectable delights right at fingertips anytime needed satisfy sweet tooth cravings without doubt satisfaction guaranteed found here today!
With these tips in mind feel free explore creativity experimenting serving styles ways elevate experiences indulging deliciously crafted homemade treats amidst loved ones!
Mistakes to avoid
When baking Black Forest Cookies, certain pitfalls can derail your cookie-making success.
One common mistake is not measuring ingredients accurately. Baking is a science, and precise measurements are crucial for achieving the perfect texture and flavor. Use a kitchen scale or standard measuring cups and spoons to ensure accuracy. For example, too much flour can result in dry cookies, while too little might make them overly gooey.
Another frequent error is neglecting to chill the dough before baking. Chilling allows the butter to solidify, preventing the cookies from spreading too much during baking. This step is essential for maintaining the intended size and texture of your Black Forest Cookies. Aim to chill your dough for at least 30 minutes before scooping it onto the baking sheet.
Overbaking is another mistake that can compromise your cookies. Keep a close eye on your cookies as they bake, as they continue to cook slightly even after being removed from the oven. Setting a timer and checking for doneness at the lower end of the recommended baking time will help you achieve that soft, chewy interior characteristic of great Black Forest Cookies.
Lastly, don’t skip on quality ingredients. The chocolate and cherries you choose significantly impact the flavor of your cookies. Opt for high-quality chocolate chips and fresh or preserved cherries to enhance the overall taste experience.
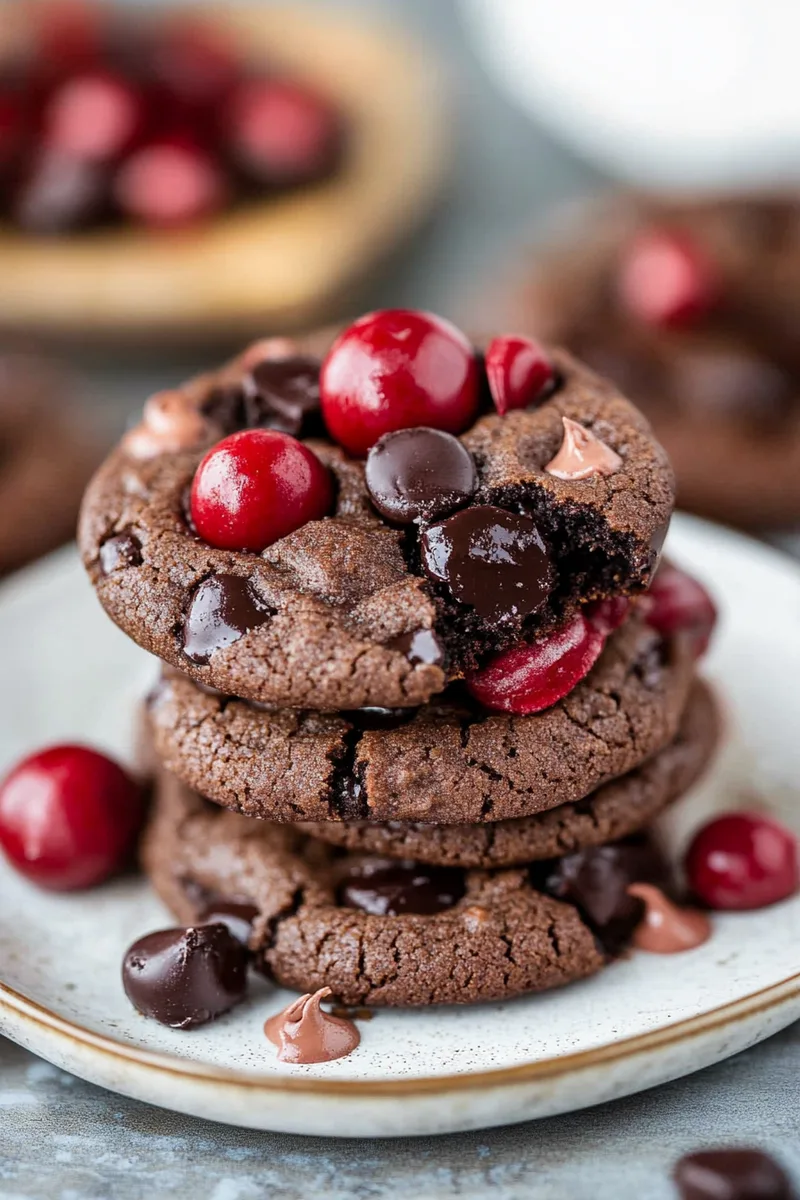
Tips and tricks
Achieving perfect Black Forest Cookies requires some helpful tips and tricks that can elevate your baking game.
Use room temperature ingredients whenever possible. This includes butter and eggs, which incorporate more easily into your batter. Room temperature butter creates a creamy mixture that helps trap air, leading to lighter cookies. If you’re short on time, you can soften butter in a microwave but do so cautiously to prevent melting.
Experiment with add-ins like nuts or different types of chocolate to give your cookies unique flavors and textures. Walnuts or pecans can add crunch, while dark chocolate chips may deepen the cookie’s richness alongside milk chocolate ones. Customizing your Black Forest Cookies will make them stand out and suit different palates.
Consider using parchment paper or silicone baking mats on your cookie sheets. These surfaces prevent sticking and promote even baking, resulting in perfectly shaped cookies every time. They also make cleanup much easier!
Lastly, allow your cookies to cool on the baking sheet for a few minutes before transferring them to wire racks. This helps them firm up without losing their soft centers while making sure they don’t break apart when moved.
Suggestions for Black Forest Cookies
To ensure your Black Forest Cookies turn out as delicious as possible, consider these suggestions.
Incorporate cocoa powder into your cookie dough for an extra chocolatey flavor that complements the cherries beautifully. A tablespoon or two of unsweetened cocoa powder enhances both color and taste without overwhelming sweetness.
For added depth in flavor, try incorporating espresso powder into the dough. Coffee enhances chocolate flavors remarkably well, creating a richer taste profile in each bite of your Black Forest Cookies.
To amp up presentation, drizzle melted chocolate over cooled cookies before serving. This not only adds an attractive finish but also intensifies the chocolate experience throughout each bite.
When storing your cookies, place parchment paper between layers in an airtight container to maintain freshness while preventing sticking together. Proper storage ensures that each cookie remains soft and delightful even after a few days.
Finally, consider pairing these cookies with whipped cream or vanilla ice cream when serving for an indulgent treat reminiscent of classic Black Forest cake desserts.
FAQs
What are Black Forest Cookies?
Black Forest Cookies are delightful treats inspired by the classic German dessert known as Black Forest Cake. They typically feature rich chocolate cookie dough studded with tart cherry pieces and often include chocolate chips or chunks for added decadence. The combination of flavors makes these cookies moist and flavorful with every bite.
How do I store leftovers?
To maintain freshness after baking Black Forest Cookies, store them in an airtight container at room temperature for up to one week. If you’d like them to last longer, consider freezing them! Place cooled cookies in a freezer-safe bag with layers separated by parchment paper; they can stay frozen for up to three months without losing quality.
Can I use fresh cherries instead of dried ones?
Yes! You can use fresh cherries when making Black Forest Cookies; however, ensure you pit and chop them before adding them into the dough. Keep in mind that fresh cherries contain more moisture than dried ones; therefore, it might be best to reduce other liquid ingredients slightly to maintain proper consistency in your cookie batter.
Are there gluten-free options available?
Absolutely! You can make gluten-free Black Forest Cookies by substituting all-purpose flour with gluten-free flour blends available at most grocery stores today. Ensure that any additional ingredients like chocolate chips are also gluten-free if necessary!
Can I add nuts to my recipe?
Definitely! Adding chopped nuts such as walnuts or pecans enhances both texture and flavor profiles within your Black Forest Cookies recipe while providing crunchiness alongside their softness from cherries/chocolate components blended together—an excellent way to customize these treats according to personal preference!
How do I achieve chewy versus crispy texture?
If you desire chewy Black Forest Cookies rather than crisp ones, make sure not to overbake them! Remove them from heat when edges appear set but centers remain slightly undercooked; they’ll firm up upon cooling while retaining their moistness inside—perfectly achieving that chewy goodness everyone loves!
Conclusion
Baking delicious Black Forest Cookies involves understanding potential mistakes while utilizing useful tips and suggestions throughout the process. Focus on accurate ingredient measurements and chilling dough properly; these steps will ensure you create perfectly balanced flavors in each batch you bake! Remember also not overlooking ingredient quality—choosing premium chocolates/cherries makes all difference too!
Experimenting with variations such as adding nuts or espresso powder certainly elevates this already delectable treat further still—allowing creativity shine through each delightful bite enjoyed by family/friends alike! Lastly storing leftovers correctly ensures continued enjoyment long after they’ve left oven—so savor every moment indulging into those sweet-tasting memories created together around kitchen table filled laughter!
Print
Delicious Black Forest Cookies Recipe
- Total Time: 32 minutes
- Yield: 24 cookies 1x
Description
These indulgent Black Forest cookies combine rich chocolate, tart cherries, and a hint of kirsch for a delectable twist on the classic German cake. Each bite delivers the perfect balance of fudgy chocolate and fruit, making them an irresistible treat for any occasion.
Ingredients
- 1¾ cups all-purpose flour
- ¾ cup unsweetened cocoa powder
- 1 cup unsalted butter, softened
- 1 cup granulated sugar
- 2 large eggs
- 1 teaspoon vanilla extract
- 1 tablespoon kirsch (cherry brandy), optional
- 1 cup dried cherries, chopped
- 1 cup semi-sweet chocolate chips
- ½ teaspoon baking soda
- ¼ teaspoon salt
Instructions
- Preheat oven to 350°F (175°C). Line baking sheets with parchment paper.
- Whisk flour, cocoa powder, baking soda, and salt in a bowl.
- Cream butter and sugar until fluffy. Beat in eggs, vanilla, and kirsch if using.
- Gradually mix dry ingredients into wet mixture until combined. Fold in cherries and chocolate chips.
- Drop rounded tablespoons of dough onto prepared sheets, spacing 2 inches apart.
- Bake for 12 minutes until edges are set. Cool on sheets for 5 minutes before transferring to wire racks.
Notes
- Store in an airtight container for up to 5 days
- Can freeze unbaked dough for up to 3 months
- For extra decadence, drizzle with melted white chocolate after cooling
- Prep Time: 20 minutes
- Cook Time: 12 minutes
Nutrition
- Calories: 185
- Sugar: 15g
- Sodium: 75mg
- Fat: 9g
- Saturated Fat: 5g
- Carbohydrates: 25g
- Fiber: 2g
- Protein: 3g
