Introduction
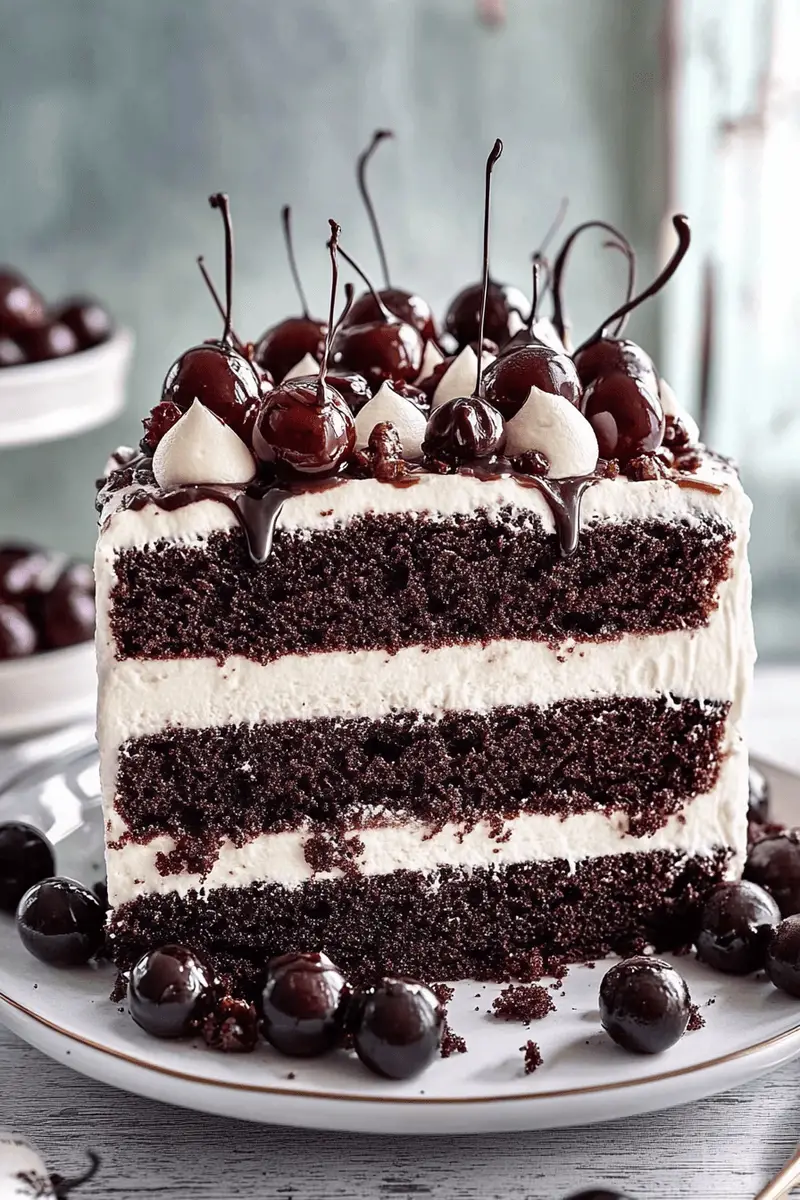
Black Forest Cake is a timeless classic that never fails to impress. This delectable dessert hails from Germany and combines rich chocolate cake with luscious layers of cream and tangy cherries. The combination of flavors and textures makes it an irresistible treat for birthdays, anniversaries, or any special occasion. The name “Black Forest” refers to the famous Black Forest region in Germany, where this delightful confection originated.
In this article, we will guide you through an easy-to-follow recipe to create your very own Black Forest Cake at home. You’ll learn about the essential ingredients needed to achieve that authentic taste and the step-by-step process to ensure your cake turns out perfect every time. Whether you’re a novice baker or a seasoned pro looking to refine your skills, our detailed instructions will help you master this beautiful cake. By the end of this post, you’ll not only understand how to prepare this indulgent dessert but also have tips for serving and storing it effectively. So grab your apron and let’s dive into the world of Black Forest Cake!
Main Ingredients
Chocolate Sponge Cake
The foundation of any great Black Forest Cake is a moist and rich chocolate sponge cake. For this recipe, you will need 1 ¾ cups all-purpose flour, 2 cups granulated sugar, ¾ cup unsweetened cocoa powder, 1 ½ teaspoons baking powder, 1 ½ teaspoons baking soda, 1 teaspoon salt, 2 large eggs at room temperature, 1 cup whole milk at room temperature, ½ cup vegetable oil, and 2 teaspoons vanilla extract.
Baking the sponge correctly ensures a fluffy texture that pairs perfectly with the other elements. It is important to mix the dry ingredients well before adding the wet ones to ensure even distribution of flavors throughout the cake.
Cherries
For authentic flavor in your Black Forest Cake, you’ll need approximately 2 cups of pitted cherries. You can use fresh cherries when they are in season or opt for jarred sour cherries if they aren’t available. The tartness of cherries balances beautifully with the sweet chocolate cake.
If using fresh cherries, be sure to wash them thoroughly and remove the pits before use. If using jarred cherries, drain them well before layering them into your cake.
Whipped Cream
Whipped cream is essential for creating those luscious layers in your Black Forest Cake. For this recipe use 3 cups heavy whipping cream along with ¾ cup powdered sugar and 1 teaspoon vanilla extract for flavoring.
Whipping your cream until stiff peaks form is crucial; it will hold its shape better between layers as well as on top of the finished cake.
Kirsch (Cherry Brandy)
Kirsch is a traditional ingredient that adds depth and authenticity to Black Forest Cake. You’ll need about ¼ cup of Kirsch to soak your sponge layers before assembling the cake.
This cherry brandy brings out the flavor of the fruit even more while adding an aromatic quality that elevates your dessert experience.
How to Prepare Black Forest Cake
Step One: Bake the Chocolate Sponge Layers
Begin by preheating your oven to 350°F (175°C). Grease two round 9-inch cake pans with butter or non-stick spray and line the bottoms with parchment paper for easy removal later on. In a large mixing bowl, combine all the dry ingredients: flour, sugar, cocoa powder, baking powder, baking soda, and salt. Whisk these together until they are fully blended.
In another bowl whisk together eggs, milk, oil, and vanilla extract until well combined. Gradually add this wet mixture into your dry ingredients while stirring gently until just combined; avoid overmixing as it can result in dense cakes.
Divide this batter evenly between both prepared pans and smooth out the tops with a spatula for even baking. Bake in your preheated oven for about 30-35 minutes or until a toothpick inserted into the center comes out clean.
Once baked remove from oven and allow them to cool in their pans for about ten minutes before transferring them onto wire racks to cool completely.
Step Two: Prepare The Whipped Cream
While your cakes are cooling down take this opportunity to prepare your whipped cream frosting as it requires some chilling time too! In a large mixing bowl pour in heavy whipping cream along with powdered sugar and vanilla extract.
Using an electric mixer on medium speed start whipping until soft peaks form; then increase speed until stiff peaks begin to develop—this usually takes around five minutes total or so depending on your mixer’s power level. Ensure not to overwhip as it may turn grainy; stop once you achieve that smooth consistency!
Cover with plastic wrap or transfer into an airtight container and place it back in refrigerator until you’re ready for assembly.
Step Three: Assemble The Cake
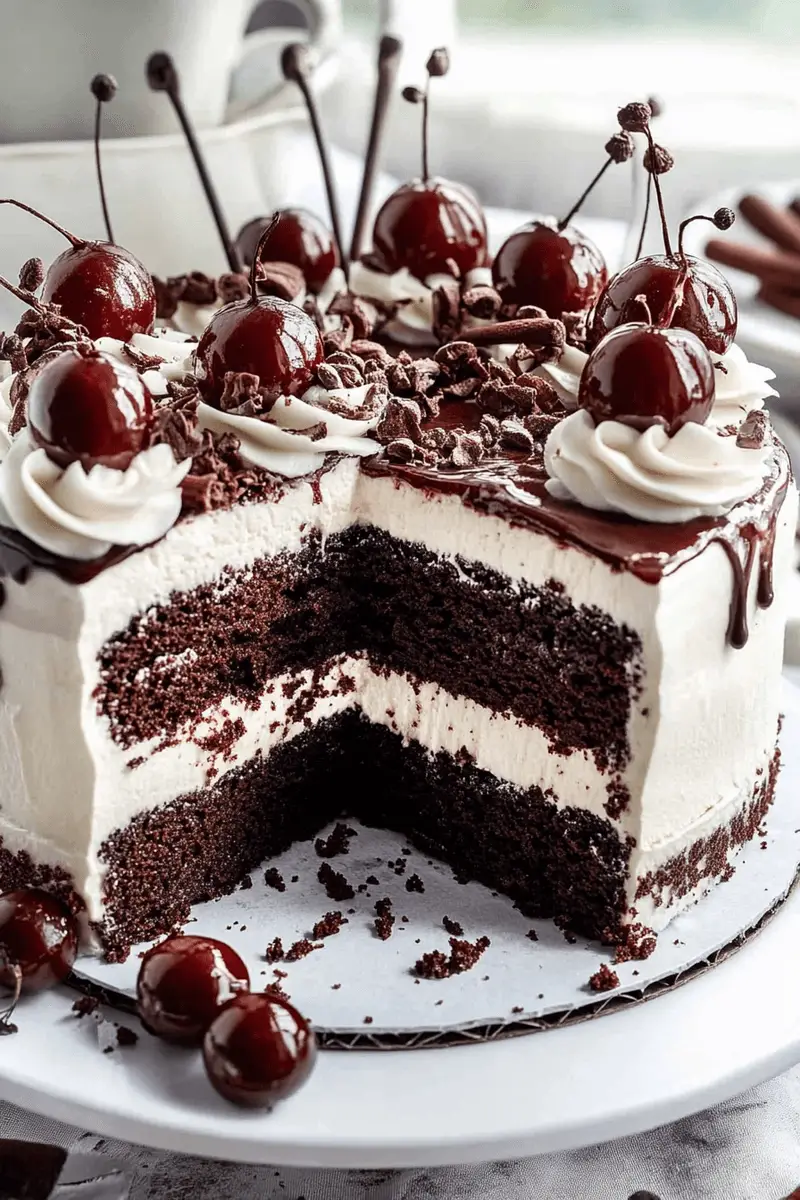
Once both chocolate sponges have cooled completely it’s time for assembly! Carefully slice each sponge layer horizontally through its middle creating two thinner layers per cake round; now you should have four layers total!
Place one layer onto a serving platter; drizzle half of Kirsch evenly across its surface allowing it some time to soak up those flavors before spreading one-third whipped cream over top followed by an even layer of pitted cherries arranged decoratively on top.
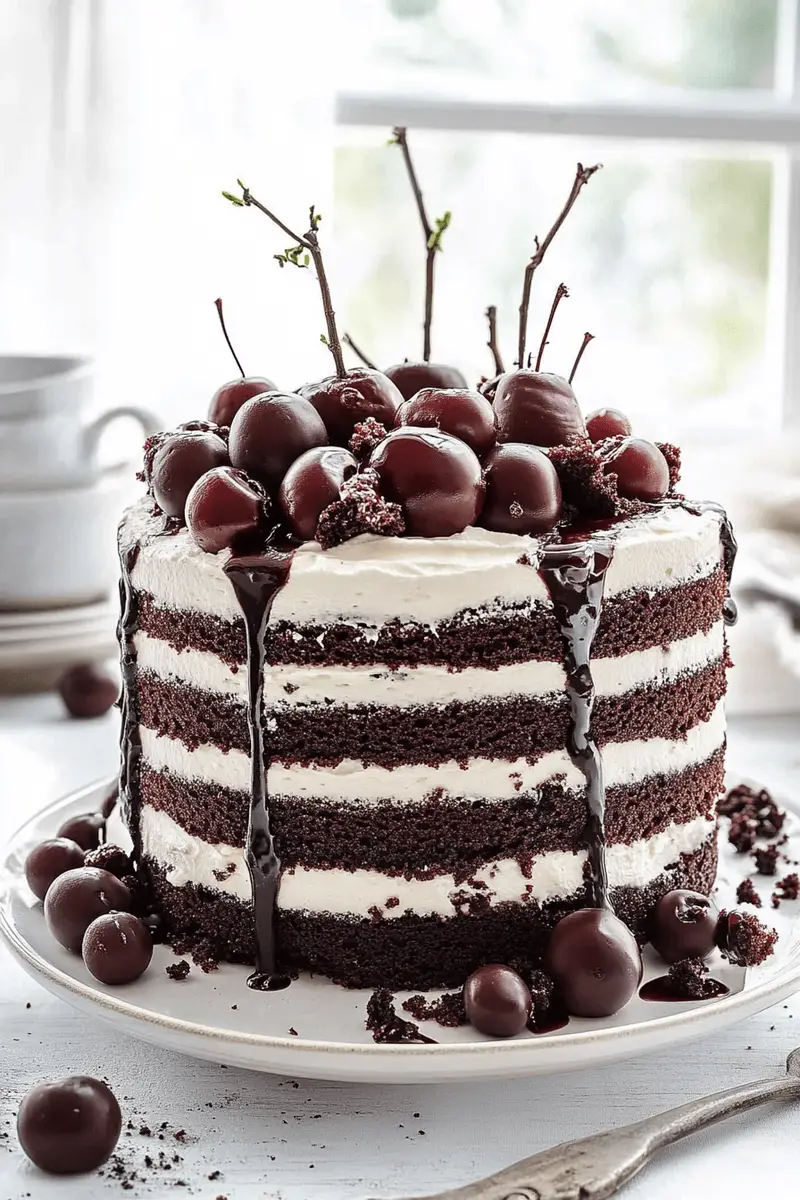
Repeat this process by stacking another layer on top followed by Kirsch soaking again then more whipped cream followed by cherries while ensuring each layer aligns neatly as you build upwards toward final layer! After placing last sponge layer spread remaining whipped cream generously across entire top surface while smoothing sides too until it looks pristine!
Finish off decoration according personal preference—perhaps sprinkle some grated dark chocolate or few additional whole cherries on top!
Serving and Storing Tips
Serving Tips
When serving your Black Forest Cake consider slicing it into generous portions that allow everyone plenty of room savor every delicious bite! Serve chilled straight from refrigerator as chilled cakes offer refreshing experience especially during warmer months!
Pair each slice alongside dollop extra whipped cream or even scoop vanilla ice cream enhance enjoyment factor further! To elevate presentation consider garnishing plates with few extra pitted cherries—this adds visual appeal while reinforcing flavor profile guests will love!
Don’t forget beverage pairings! For adults opt perhaps coffee liqueur cocktails complement richness perfectly whereas kids might enjoy chilled milk served alongside their slices!
Storing Tips
To keep leftovers fresh store uncut remaining portions within airtight container keeping refrigerated up three days maximum—though best enjoyed within first couple days after assembly due freshness factors involved regarding whipped cream stability!
If planning ahead consider freezing individual slices wrapped tightly plastic wrap followed by aluminum foil which helps prevent freezer burn; these can last up six months stored properly! Just remember thaw overnight fridge prior serving because nobody likes cold desserts right?
By adhering these simple storage guidelines ensures continued enjoyment deliciousness long after initial bake day arrives!
Happy baking! Enjoy making your very own version iconic dessert everyone loves indulging!
Mistakes to avoid
One common mistake when making Black Forest Cake is using the wrong type of chocolate. It’s essential to choose high-quality dark chocolate for both the cake layers and the ganache. Many bakers opt for semi-sweet or milk chocolate, which can alter the flavor profile significantly. Dark chocolate provides a rich, deep taste that balances beautifully with the sweetness of the cherries and whipped cream. Make sure to read labels carefully and select chocolate with at least 60% cocoa content.
Another frequent error is neglecting to properly drain the cherries. When using canned cherries, it’s crucial to remove excess liquid before adding them to your cake. Too much moisture can lead to soggy cake layers, ruining your dessert’s texture. To avoid this, place the cherries in a fine-mesh sieve over a bowl, allowing them to drain thoroughly. Pat them dry with paper towels if necessary to ensure they are not overly wet.
Overmixing the batter is also detrimental when making Black Forest Cake. This mistake leads to a dense and dry cake rather than a light and fluffy one. To prevent this, mix the ingredients until just combined. It’s okay if there are a few small lumps; they will bake out during cooking. Also, using room temperature ingredients helps achieve a smoother batter without excessive mixing.
Lastly, many bakers forget about cooling time after baking. Allowing your cake layers to cool completely before assembling is vital for maintaining structure and flavor. If you rush this step and assemble while warm, the heat can cause melted cream and runny layers, resulting in a sloppy presentation. Set aside adequate cooling time—ideally two hours—before frosting your Black Forest Cake.
Tips and tricks
To ensure your Black Forest Cake turns out perfectly every time, consider using fresh cherries instead of canned ones when they are in season. Fresh cherries offer superior flavor and texture compared to their canned counterparts. If you’re using fresh cherries, make sure to pit and slice them before layering them in your cake. This will enhance their natural sweetness and provide a delightful burst of flavor with each bite.
Another useful tip is to use coffee or espresso in your chocolate cake batter. Adding brewed coffee enhances the chocolate flavor without imparting a noticeable coffee taste. This trick elevates your Black Forest Cake’s richness significantly while keeping it interesting for your guests.
When it comes to frosting, homemade whipped cream is always preferable to store-bought options. Store-bought whipped cream often contains stabilizers that interfere with flavor and texture. By whipping fresh heavy cream yourself, you can control the consistency and sweetness level according to your preference. Additionally, consider adding a touch of vanilla extract or almond extract for an extra layer of flavor.
Incorporating a cherry syrup between layers can take your Black Forest Cake from good to great! To make this syrup, simmer cherry juice (or cherry liqueur) with sugar until it reduces slightly into a syrupy consistency. Brush this syrup over each layer before adding frosting for added moisture and flavor.
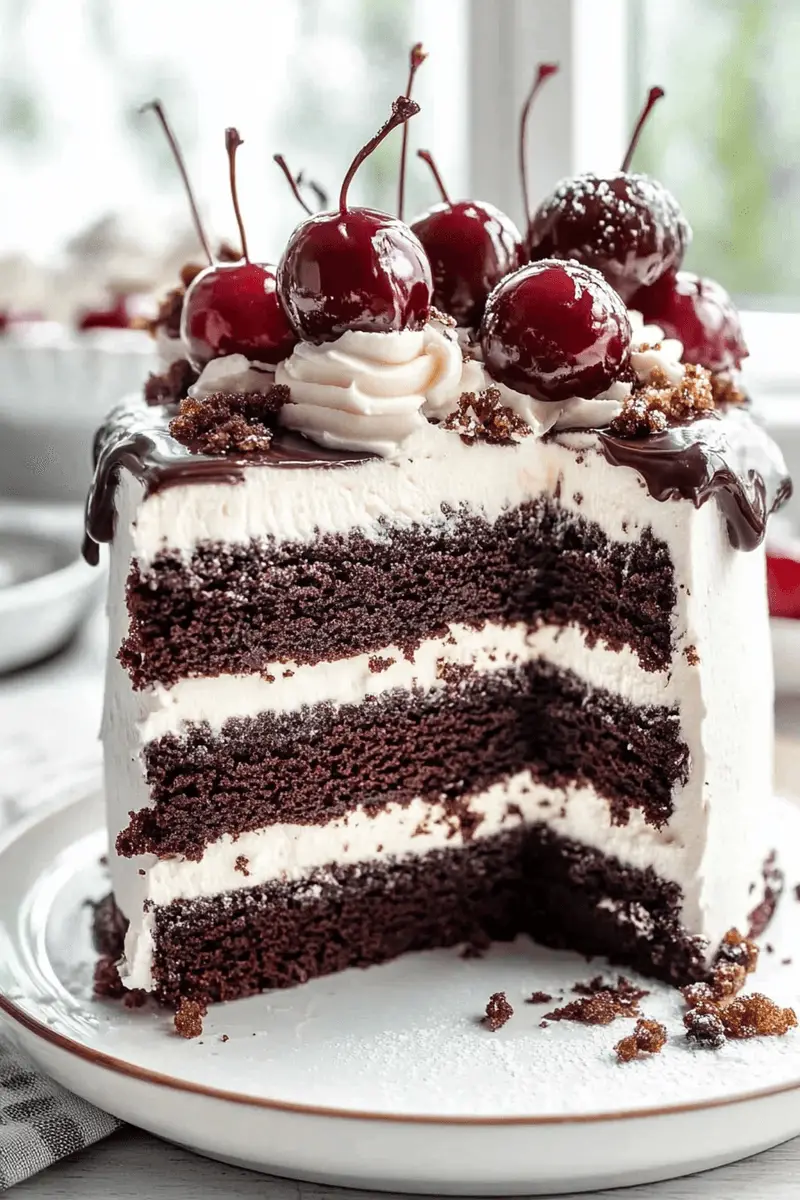
Finally, don’t skimp on decoration! Use chocolate shavings or curls as well as whole cherries on top for an elegant finish that showcases your work beautifully. A visually appealing presentation not only makes your dessert more enticing but also shows that you put thought into every detail of your Black Forest Cake.
Suggestions for Black Forest Cake
When making Black Forest Cake, consider experimenting with different types of flour for varied textures. While all-purpose flour is standard, using cake flour can yield an even lighter crumb due to its lower protein content. The result is a tender sponge that complements the richness of the other ingredients beautifully.
Pairing flavors wisely is another suggestion that can enhance your dessert’s overall appeal. While traditional recipes call for cherry filling between layers, you might try adding other fruits like raspberries or strawberries as well for added color and tartness that contrast nicely with sweet elements.
Think about adjusting sweetness levels based on personal preference or dietary needs too! Reducing sugar slightly in either the cake batter or frosting won’t compromise integrity but will make it more enjoyable for those who prefer less sweetness while still retaining wonderful flavors throughout.
Consider serving slices of your Black Forest Cake with additional sauces like warm chocolate sauce or even vanilla custard on the side; these additions elevate each bite into something truly memorable!
Lastly, ensure you have proper storage methods in place once you’ve finished baking! Storing leftover slices in an airtight container keeps them fresh longer while preventing any unwanted moisture buildup that could affect texture over time.
FAQs
How long does it take to make Black Forest Cake?
Making Black Forest Cake typically takes around two hours from start to finish when accounting for preparation, baking time, cooling time, and decorating efforts as well! The longest part will usually be letting those delicious layers cool down adequately before assembly—resist temptation here!
Can I use frozen cherries instead of fresh ones?
Yes! Frozen cherries can be an excellent alternative if fresh ones aren’t available; however, make sure they are fully thawed before incorporating them into your recipe! Drain excess liquid properly after thawing them so they won’t add unwanted moisture during assembly!
What makes Black Forest Cake different from other cakes?
What sets Black Forest Cake apart lies primarily in its unique combination of rich chocolate cake paired with tart cherries along with fluffy whipped cream! The distinct layering creates an irresistible balance between flavors that delights both aesthetics & taste buds alike!
Can I prepare components ahead of time?
Absolutely! You can bake & cool cake layers ahead up until two days prior: simply wrap them tightly & store in refrigerator until ready for assembly! Whipped cream frosting holds up well too; just remember not too far ahead so it remains fresh when served!
Is there an alternative frosting option?
Certainly! If you’re looking for an alternative frosting option besides whipped cream try using mascarpone cheese mixed with heavy cream—a delightful twist providing creamy goodness while maintaining some stability against melting!
How do I store leftover Black Forest Cake?
To keep leftover slices fresh longer store them inside an airtight container within the fridge for up-to three days maximum duration! For longer preservation options consider freezing individual pieces wrapped tightly in plastic wrap followed by aluminum foil—this ensures quality over time without losing flavor integrity!
Conclusion
In summary, creating an unforgettable Black Forest Cake involves avoiding common mistakes such as incorrect ingredient choices and improper assembly techniques while implementing clever tips like incorporating flavored syrups or selecting high-quality ingredients throughout every step of baking process along way too! Experimenting thoughtfully will allow you enhance flavors beyond traditional boundaries while keeping classic elements intact ensures delightful results everyone will appreciate greatly at gatherings big small alike—making memories together through delicious desserts crafted with love passion creativity always shines through final product served proudly plate anyone’s table enjoying moments shared together around food brings joy laughter happiness shared meals bring people closer together fostering relationships built upon shared experiences enjoyed through delicious treats lovingly prepared by skilled hands nurturing hearts souls alike within kitchen space where magic happens every single day creating beautiful culinary masterpieces indulgent flavors lights up lives everywhere anyone loves sweets deserves enjoy special treat like iconic beloved classic known simply as “Black Forest Cake”!
Print
Black Forest Cake
- Total Time: 1 hour 15 minutes
- Yield: 12 servings 1x
Description
A classic German dessert featuring layers of rich chocolate cake, whipped cream, cherries, and chocolate shavings. This decadent cake combines the perfect balance of chocolate intensity with the tartness of cherries.
Ingredients
- 2 cups all-purpose flour
- 2 cups sugar
- ¾ cup unsweetened cocoa powder
- 4 large eggs
- 1 cup vegetable oil
- 1 cup milk
- 2 cups fresh or canned cherries
- 2 cups heavy whipping cream
- ¼ cup confectioners’ sugar
- Dark chocolate shavings for garnish
- Cherry liqueur (optional)
Instructions
- Preheat oven to 350°F (175°C). Grease and flour two 9-inch cake pans.
- Mix flour, sugar, cocoa powder, and baking powder. Add eggs, oil, milk, and vanilla. Beat until well combined.
- Bake for 30 minutes or until a toothpick comes out clean. Cool completely.
- Whip cream with confectioners’ sugar until stiff peaks form.
- Split each cake layer horizontally. Layer with whipped cream and cherries. Top with chocolate shavings.
Notes
- For best results, chill the cake for at least 2 hours before serving
- Use well-drained cherries to prevent soggy layers
- The cake can be made a day ahead for better flavor
- Prep Time: 45 minutes
- Cook Time: 30 minutes
Nutrition
- Calories: 450
- Sugar: 32g
- Sodium: 180mg
- Fat: 28g
- Saturated Fat: 12g
- Carbohydrates: 48g
- Fiber: 2g
- Protein: 6g

